How to Create a Claim
Overview
A claim collects a visit's procedures, the patient's insurance, and the billing providers into a single package that gets sent to the payer. You build claims on the visit's Claim Workflow tab. A visit can have more than one claim.
This guide covers creating a claim and getting it ready to submit. To send it, see How to Submit a Claim.
Before you begin
Make sure the visit already has:
- At least one procedure with a CPT code and a diagnosis
- An insurance card on the patient's record
Step 1 — Open the Claim Workflow tab
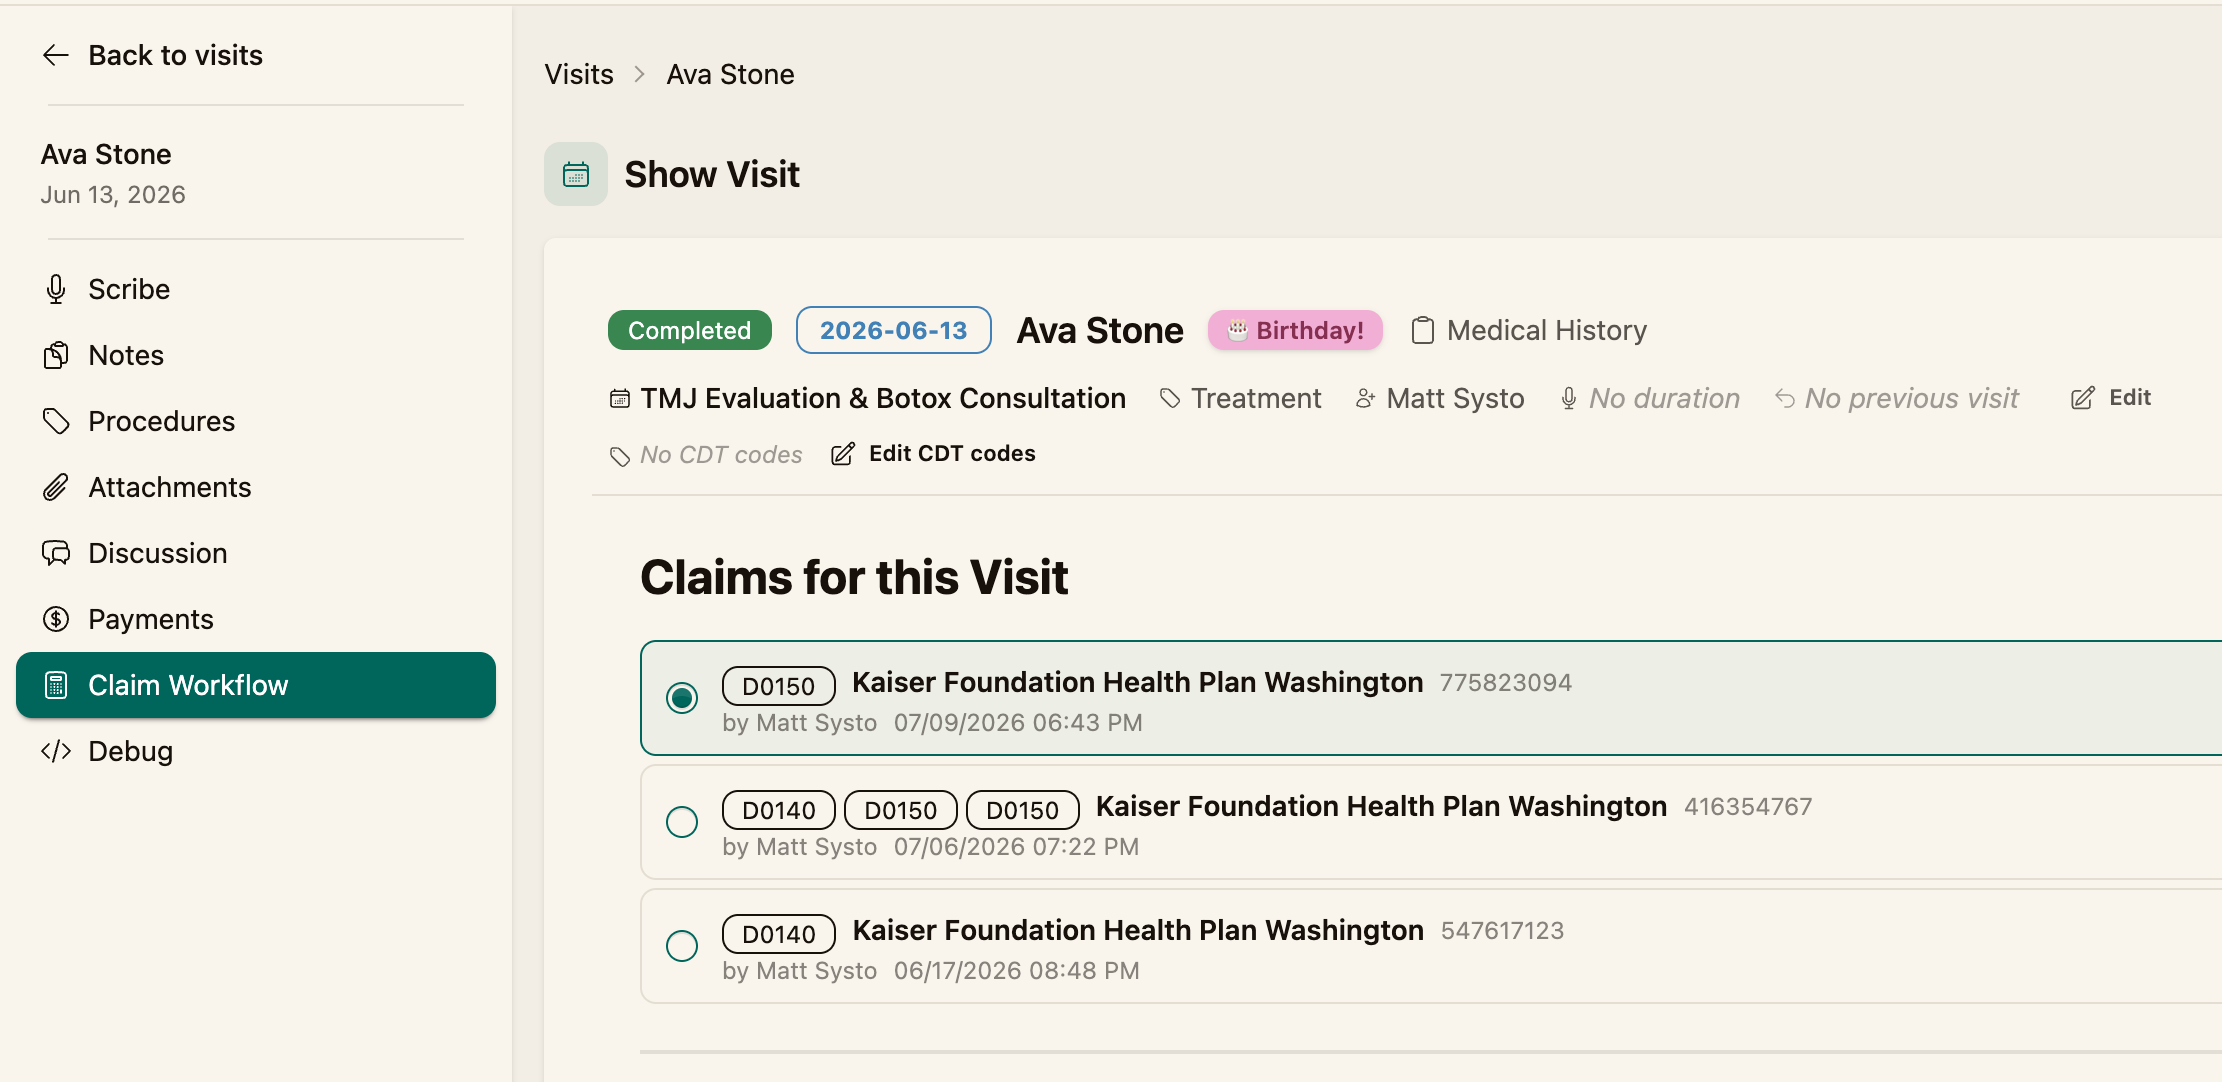
Open the visit and select the Claim Workflow tab. Existing claims for the visit are listed here.
Step 2 — Add a claim
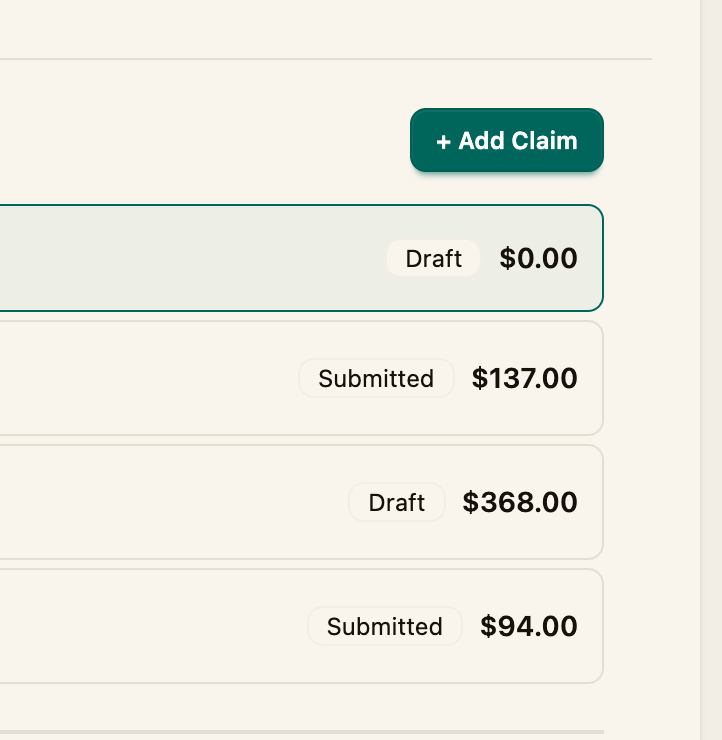
Click + Add Claim. Coral creates a new Draft claim and opens it for editing.
Step 3 — Confirm the rendering provider
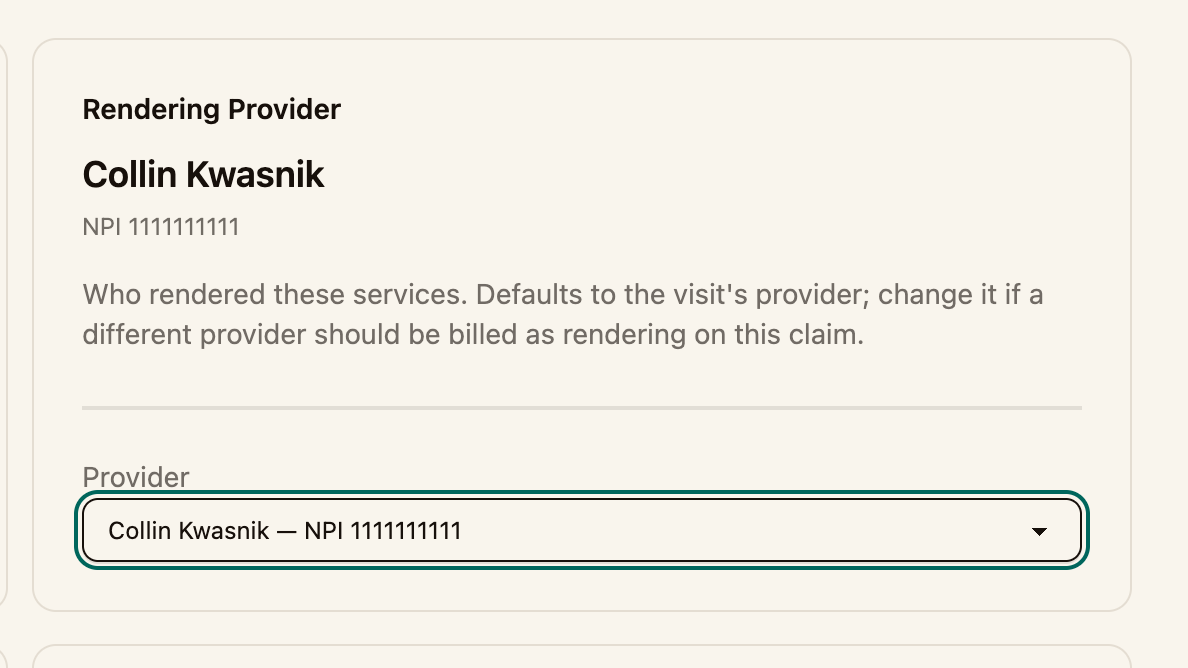
Under Rendering Provider, confirm who performed the services. This defaults to the visit's provider — change it using the Provider dropdown if a different provider should be billed as rendering on this claim.
Step 4 — Select the insurance card
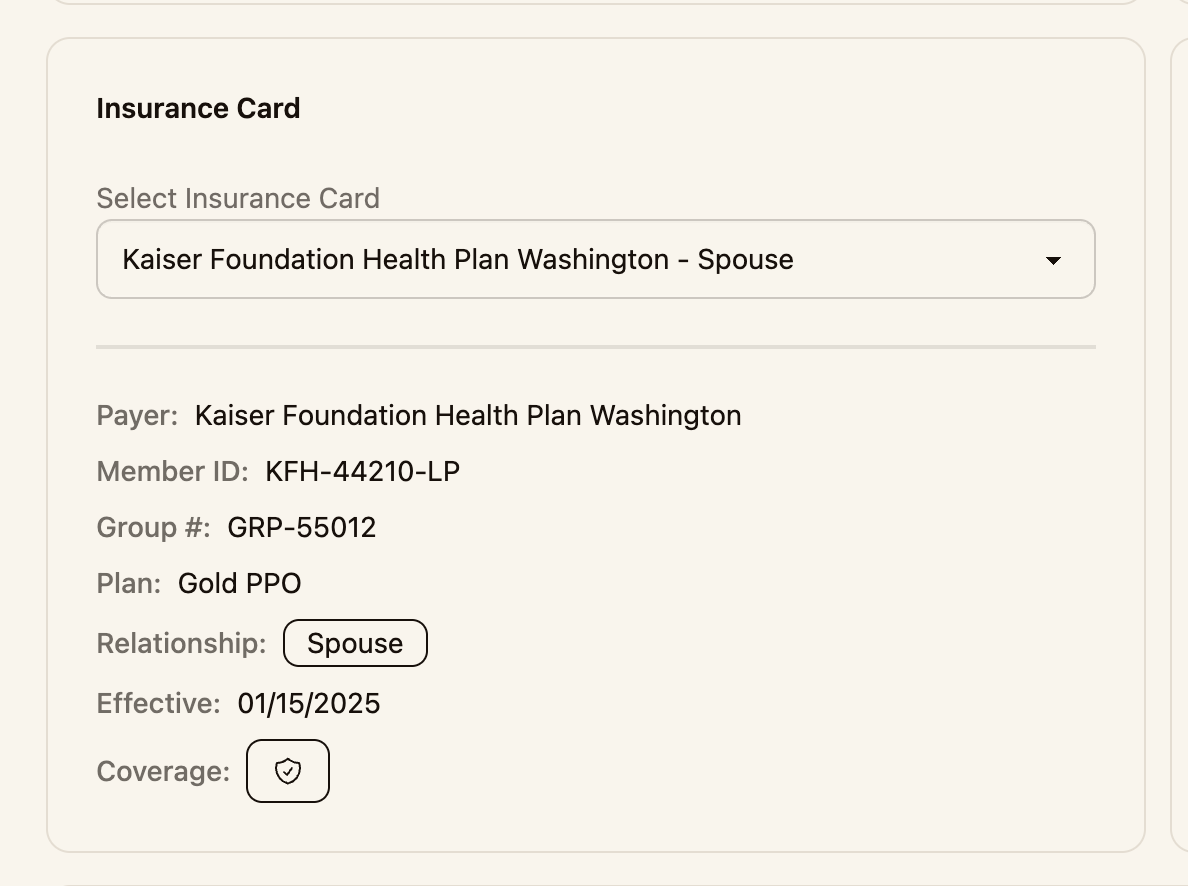
Under Insurance Card, choose the patient's card. Coral fills in the payer, member ID, group number, and plan from the card on file.
If the patient's card isn't listed, add it first — see Adding a Medical Insurance Card.
Step 5 — Complete additional sections (if applicable)
Fill in these sections only when they apply to the claim:
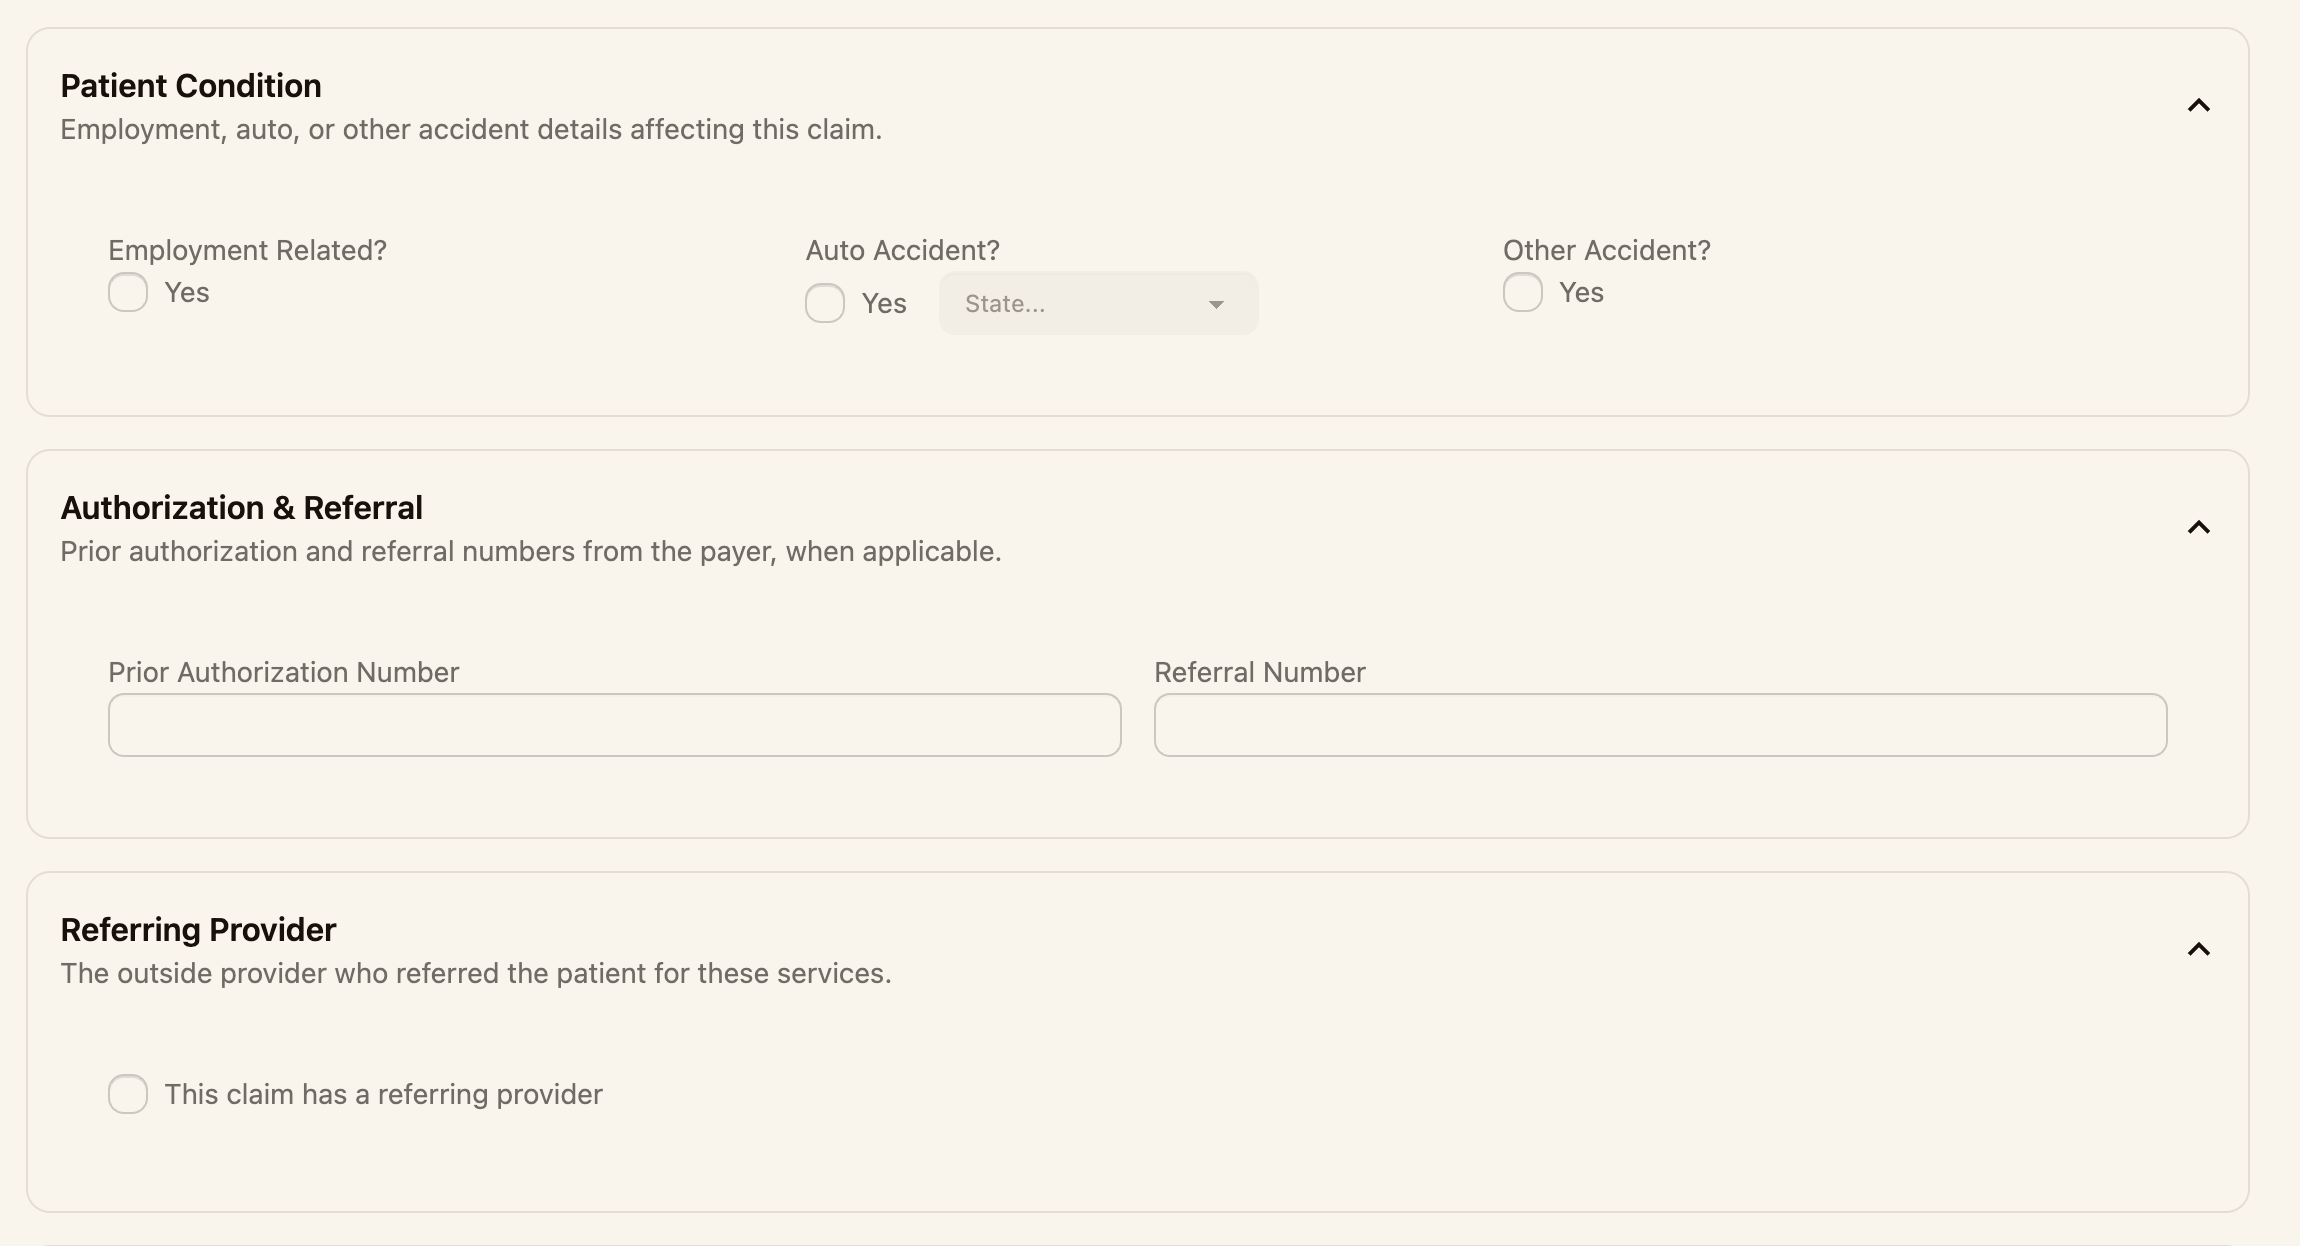
- Patient Condition — employment, auto, or other accident details affecting the claim
- Authorization & Referral — prior authorization and referral numbers from the payer
- Referring Provider — check This claim has a referring provider and enter their name and NPI
Step 6 — Select the procedures to bill
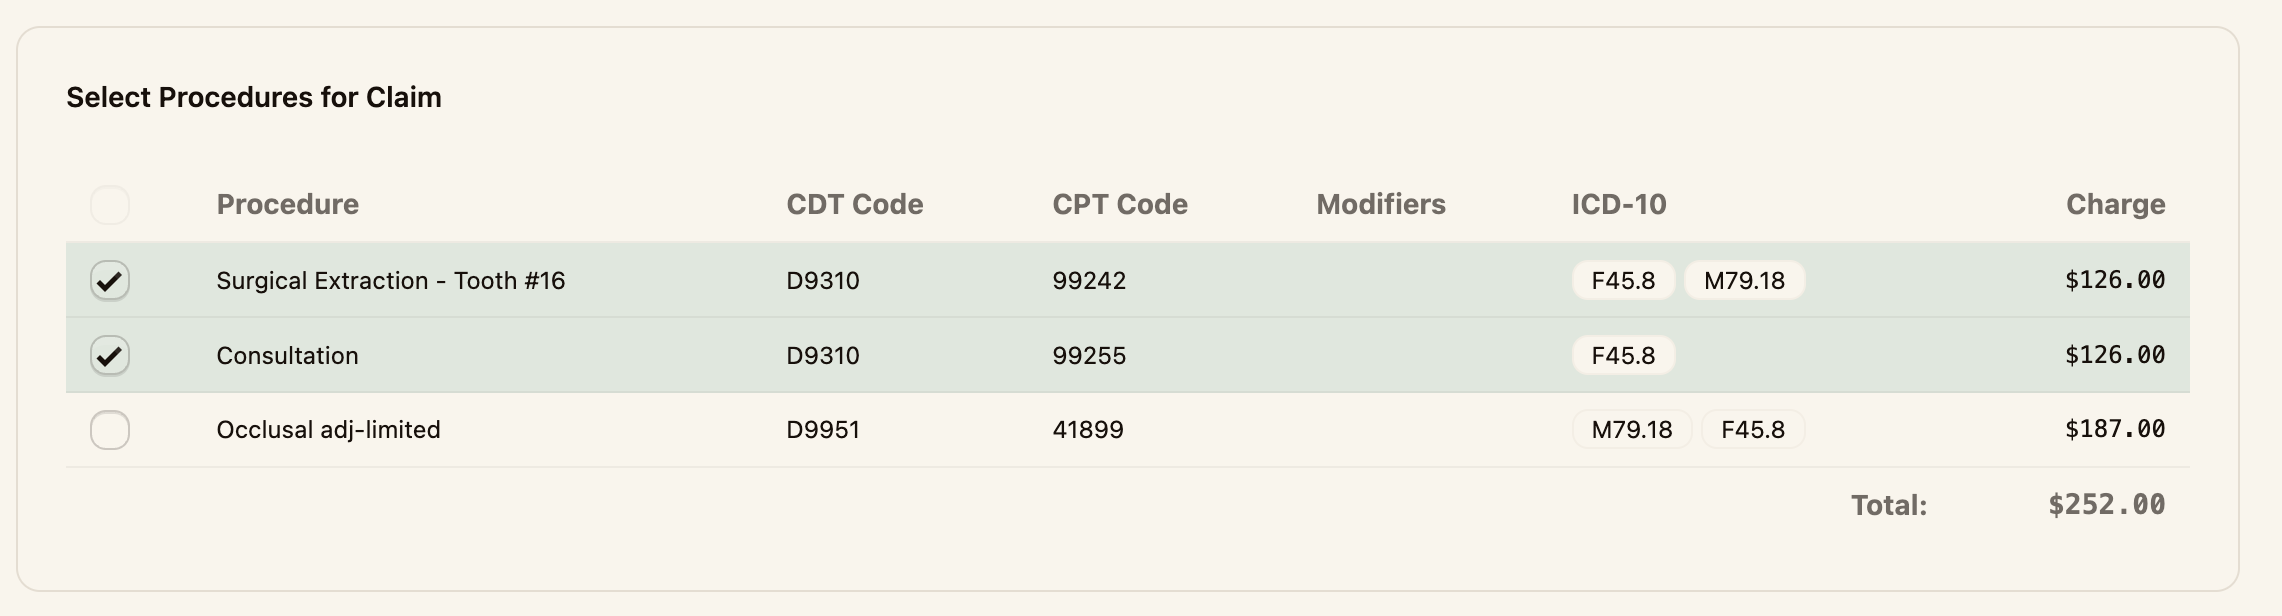
Under Select Procedures for Claim, check each procedure to include. Each row shows the CDT code, CPT code, modifiers, ICD-10 diagnosis, and charge, and the Total updates as you add them.
Step 7 — Validate and mark ready
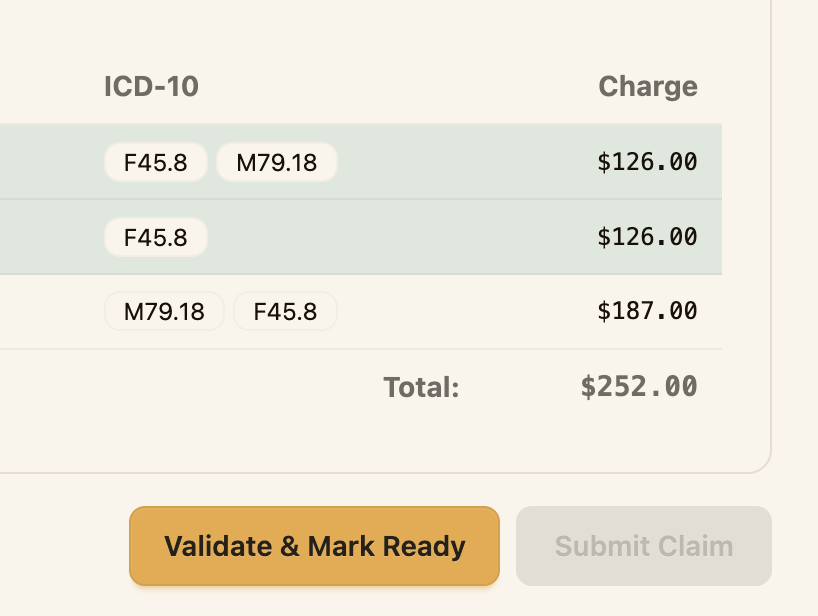
Click Validate & Mark Ready. Coral checks the claim and flags any problems — for example, a missing procedure or diagnosis. Fix anything listed under Errors, then validate again.
When the claim passes, its status changes to Ready to Submit.
Next steps
Your claim is built and validated. Next, submit it to the payer.