What to Do When a Claim is Denied
Claim denials are a normal part of medical billing. When a payer denies a claim, the fastest way to fix a correctable error in Coral is to clone the denied claim, correct the problem, and resubmit. Cloning creates a fresh draft from the original, so you keep a clean record of what was first submitted while you work the correction.
Not every denial is a Coral error to fix and resend — some require a formal appeal or additional documentation. To understand what a denial means, see Reading a Denial in the Medical Billing Guide.
Before you begin
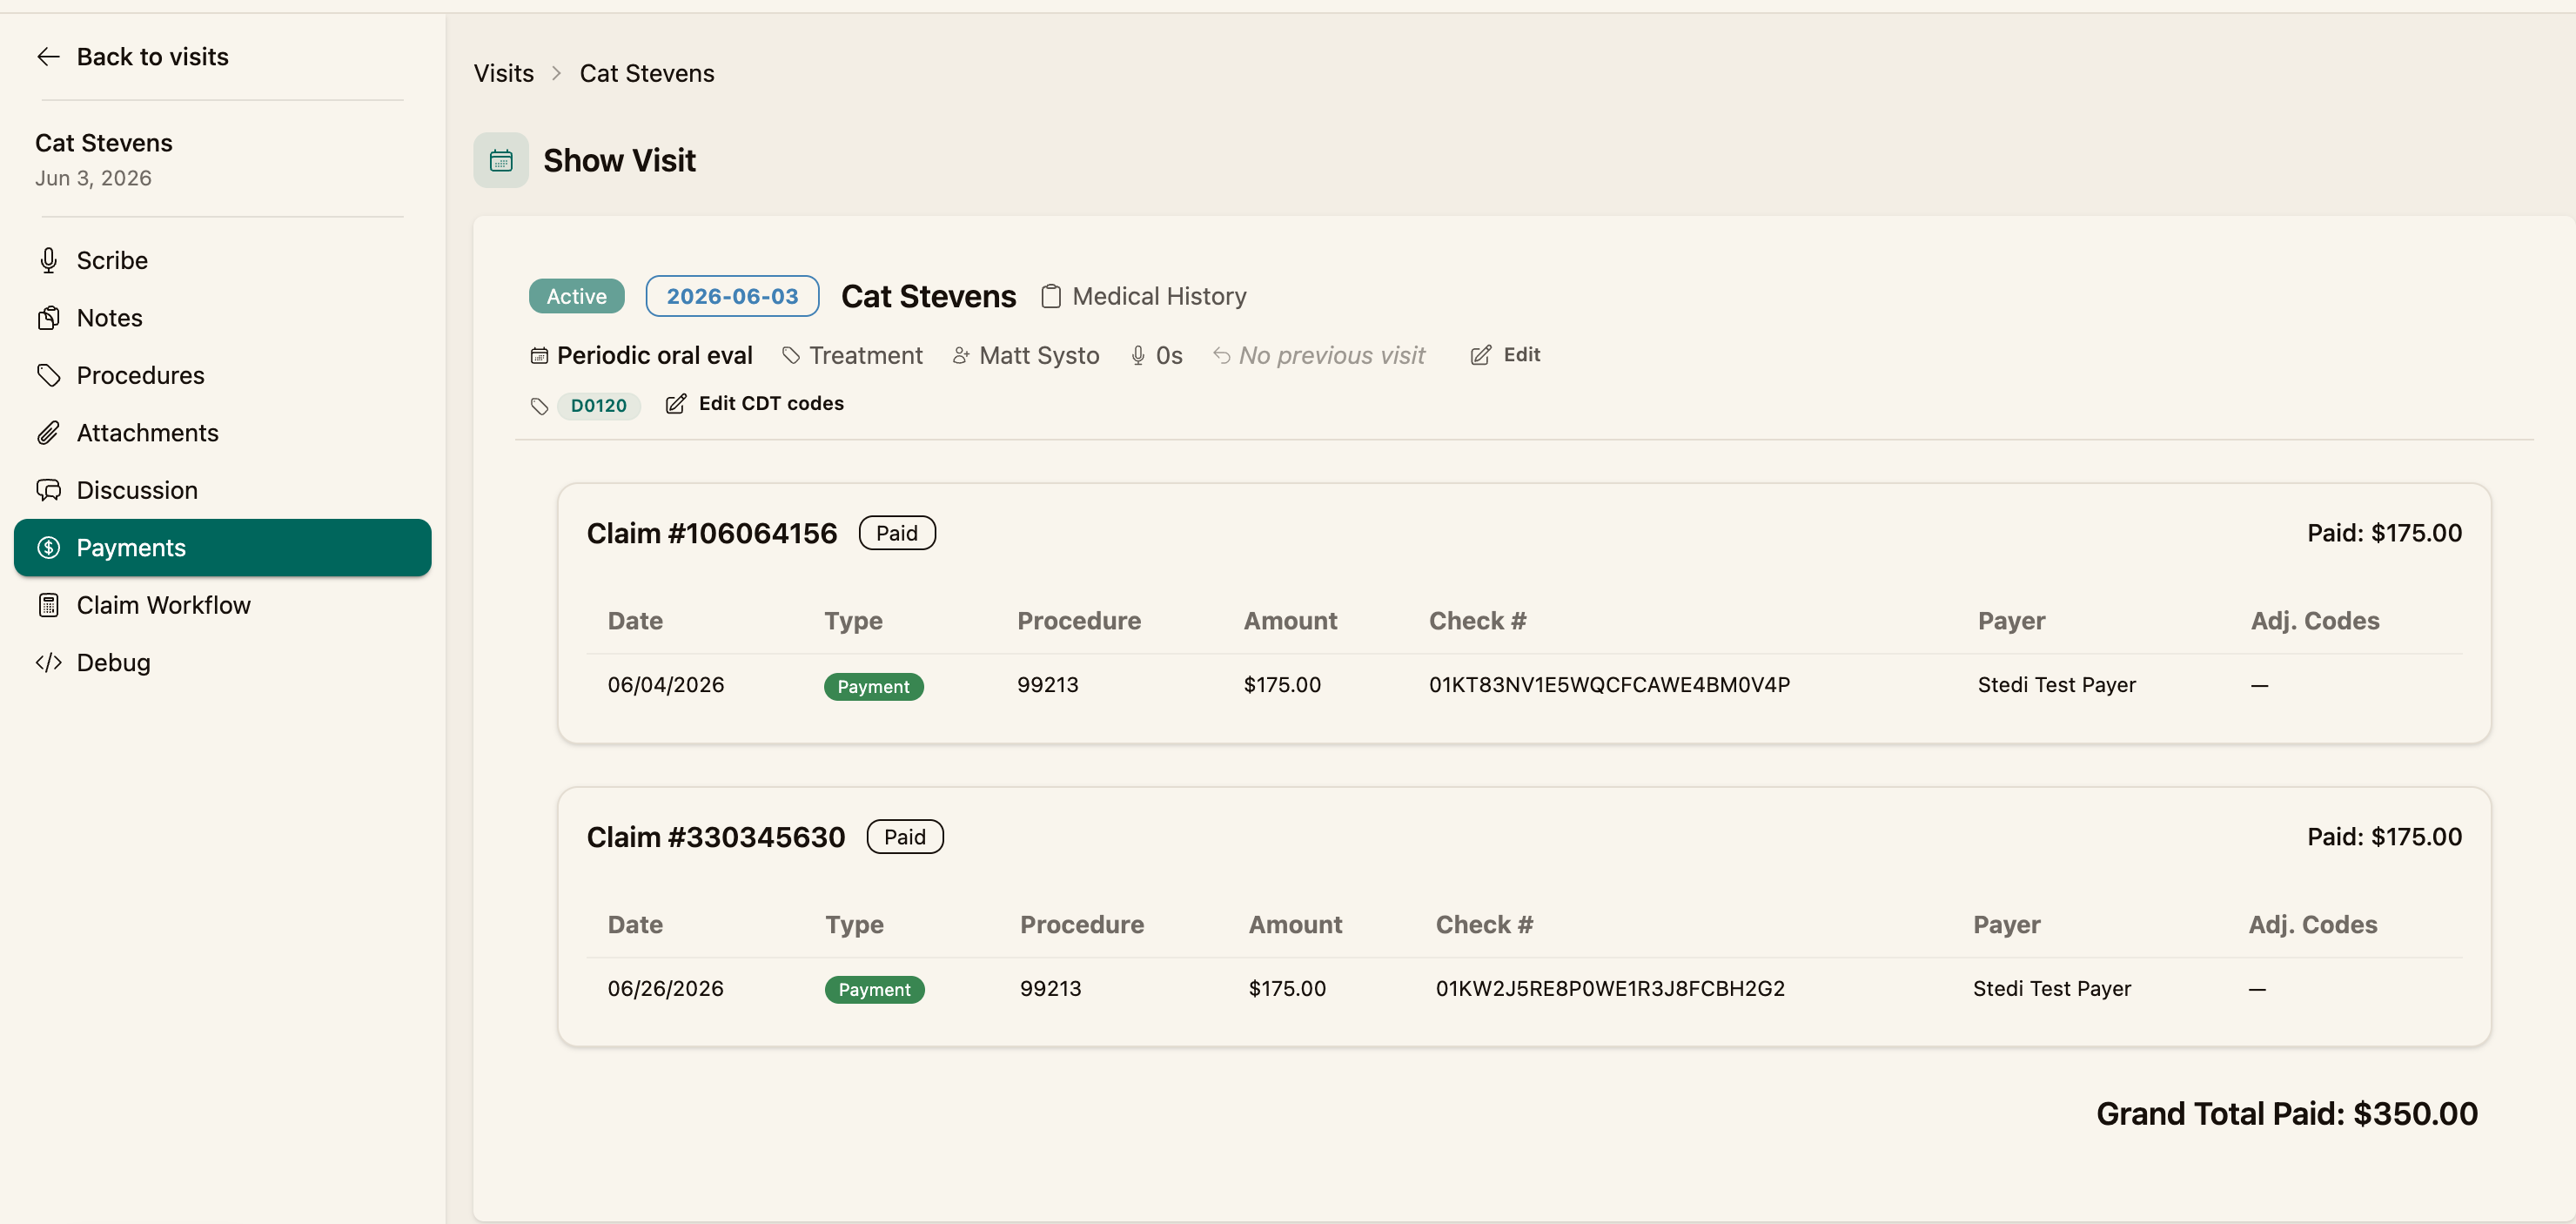
Find out why the claim was denied. When a payer processes a claim, it returns an ERA (835) report, and the payment details — including the denial — appear on the visit's Payments tab. Note the denial reason before you make changes, so you correct the right thing.
Step 1 — Open the visit and review the denial
Open the visit and check the Payments tab for the returned ERA and its denial reason.
Step 2 — Open the denied claim
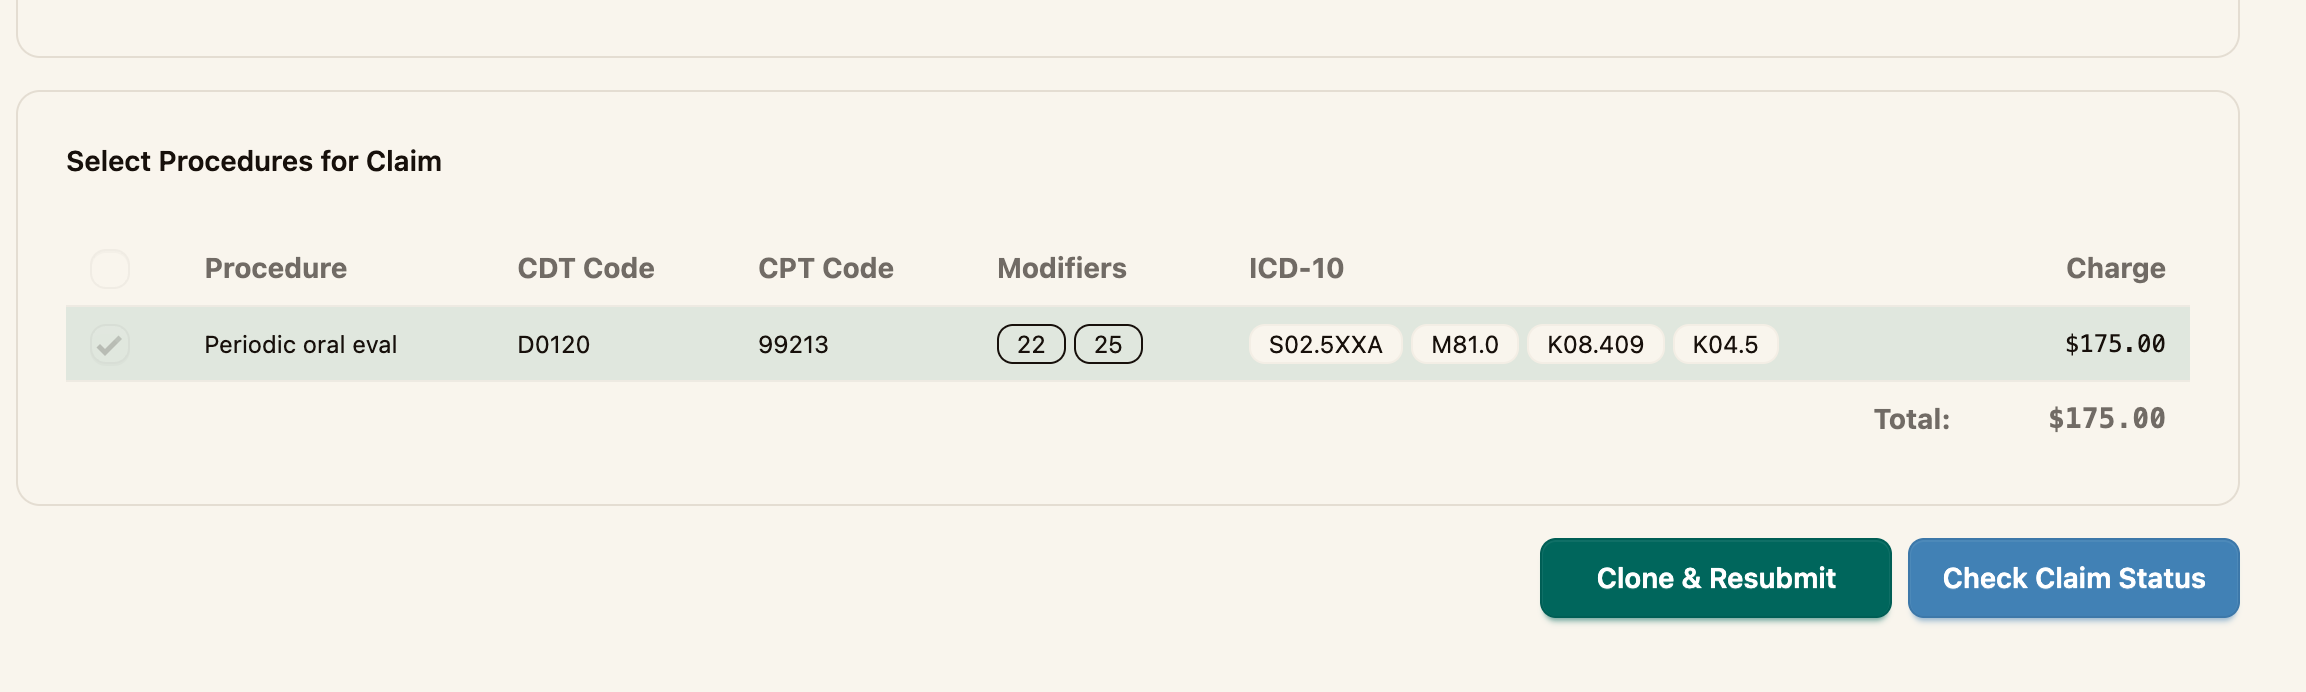
Go to the Claim Workflow tab and select the denied claim from the list of claims for the visit. A denied claim opens Read Only.
Step 3 — Clone and resubmit
Click Clone & Resubmit. Coral creates a new, editable Draft claim pre-filled with the original's details, and leaves the denied claim untouched for your records.
Step 4 — Correct the problem
On the new draft, fix whatever caused the denial. Where you make the change depends on the reason:
| Denial reason | Where to fix it in Coral |
|---|---|
| Wrong or expired member ID, subscriber, or payer | Re-select or update the Insurance Card (Adding a Medical Insurance Card) |
| Invalid, missing, or non-covered procedure code | The claim's procedures (Adding Procedures) |
| Missing or unsupported diagnosis | The ICD-10 diagnosis on the procedure |
| Rendering provider NPI or taxonomy | Rendering Provider on the claim, or the provider's details in Team Management |
| Missing prior authorization or referral | Authorization & Referral on the claim |
For a full walkthrough of each field on the claim, see How to Create a Claim.
Step 5 — Revalidate and resubmit
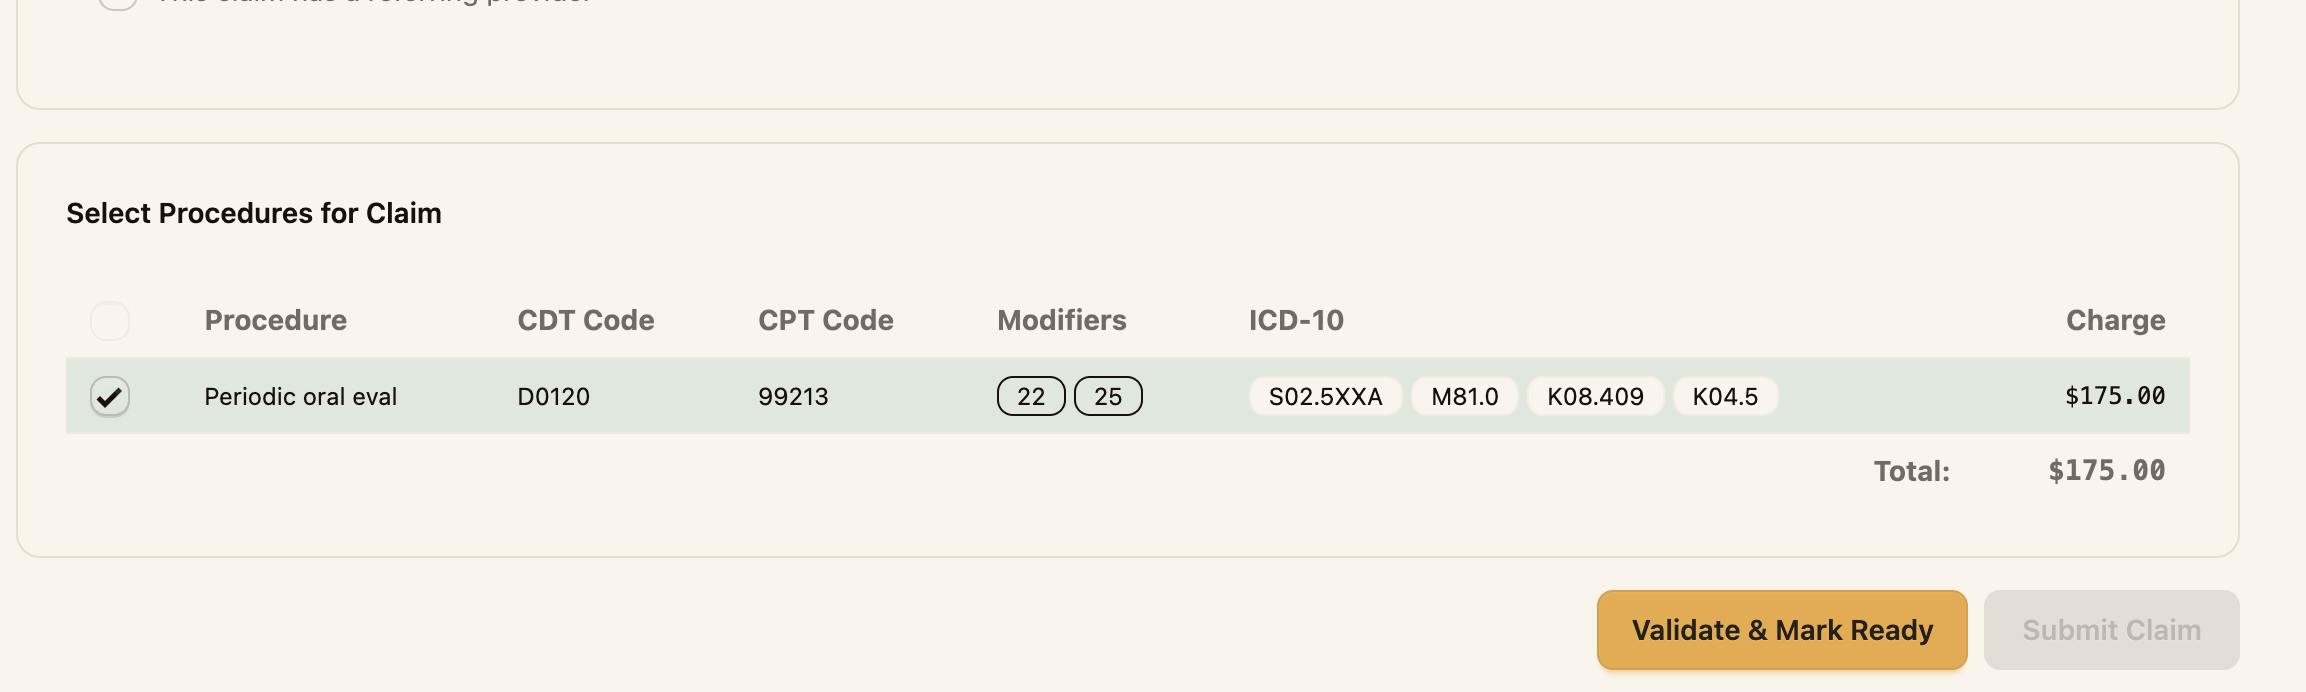
Once you've made the correction, click Validate & Mark Ready, resolve anything listed under Errors, and then Submit Claim to send the corrected claim. See How to Submit a Claim for details.
When to appeal instead
If the denial isn't a simple data error — for example, the payer disputes medical necessity — cloning and resubmitting won't resolve it. In that case, follow the appeal process, which usually involves supporting documentation such as a letter of medical necessity. See Prior Authorization & Appeals in the Medical Billing Guide.