Adding Your First Patient
Overview
You can get patients into Coral two ways: add a single patient manually, or import them in bulk from a CSV file. This guide covers both.
Add a patient manually
Step 1 — Open the Patients list
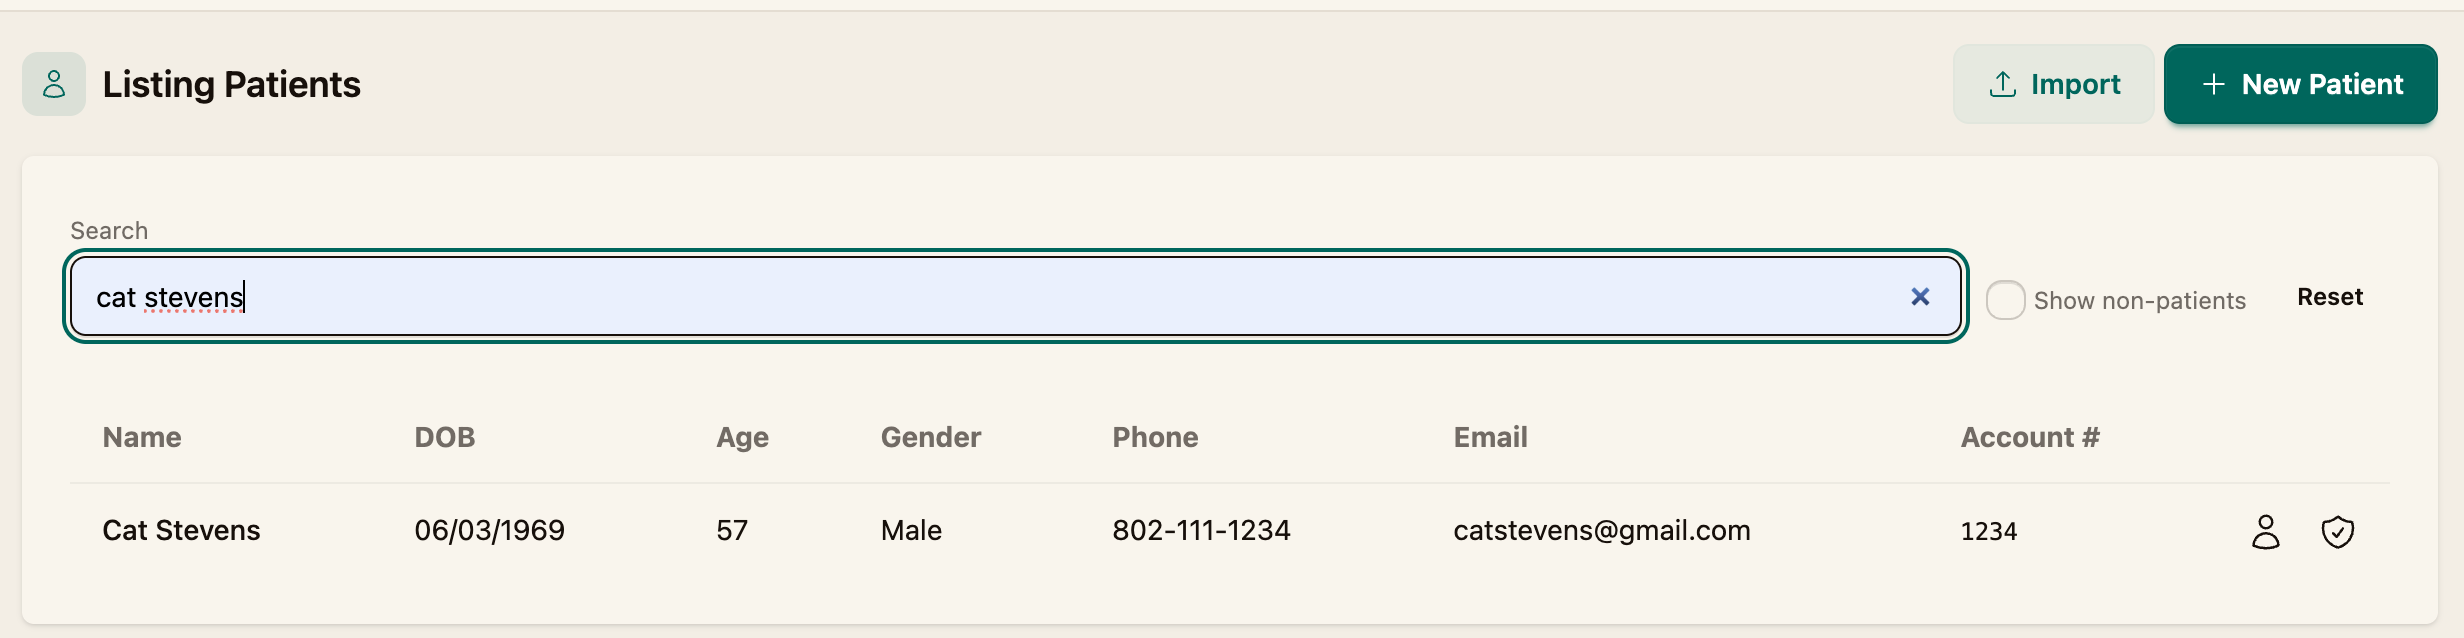
From the navigation menu, go to Patients.
Step 2 — Start a new patient
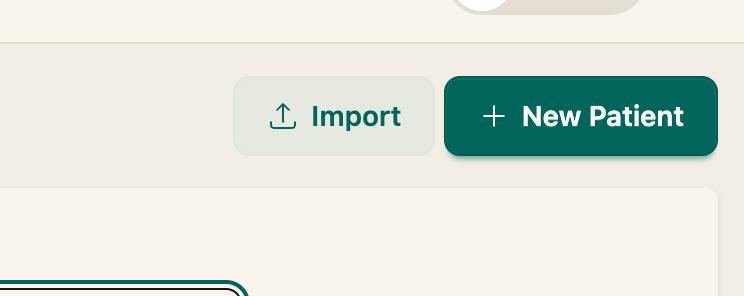
Click + New Patient to open the patient form.
Step 3 — Fill in the patient's details
Complete the form. The key fields are:
- First name and Last name
- Preferred name (optional)
- Date of birth
- Gender
- Address, City, State, Zip code
- Phone and Email
- Account number — your practice's ID for this patient (optional)
- Notes (optional)
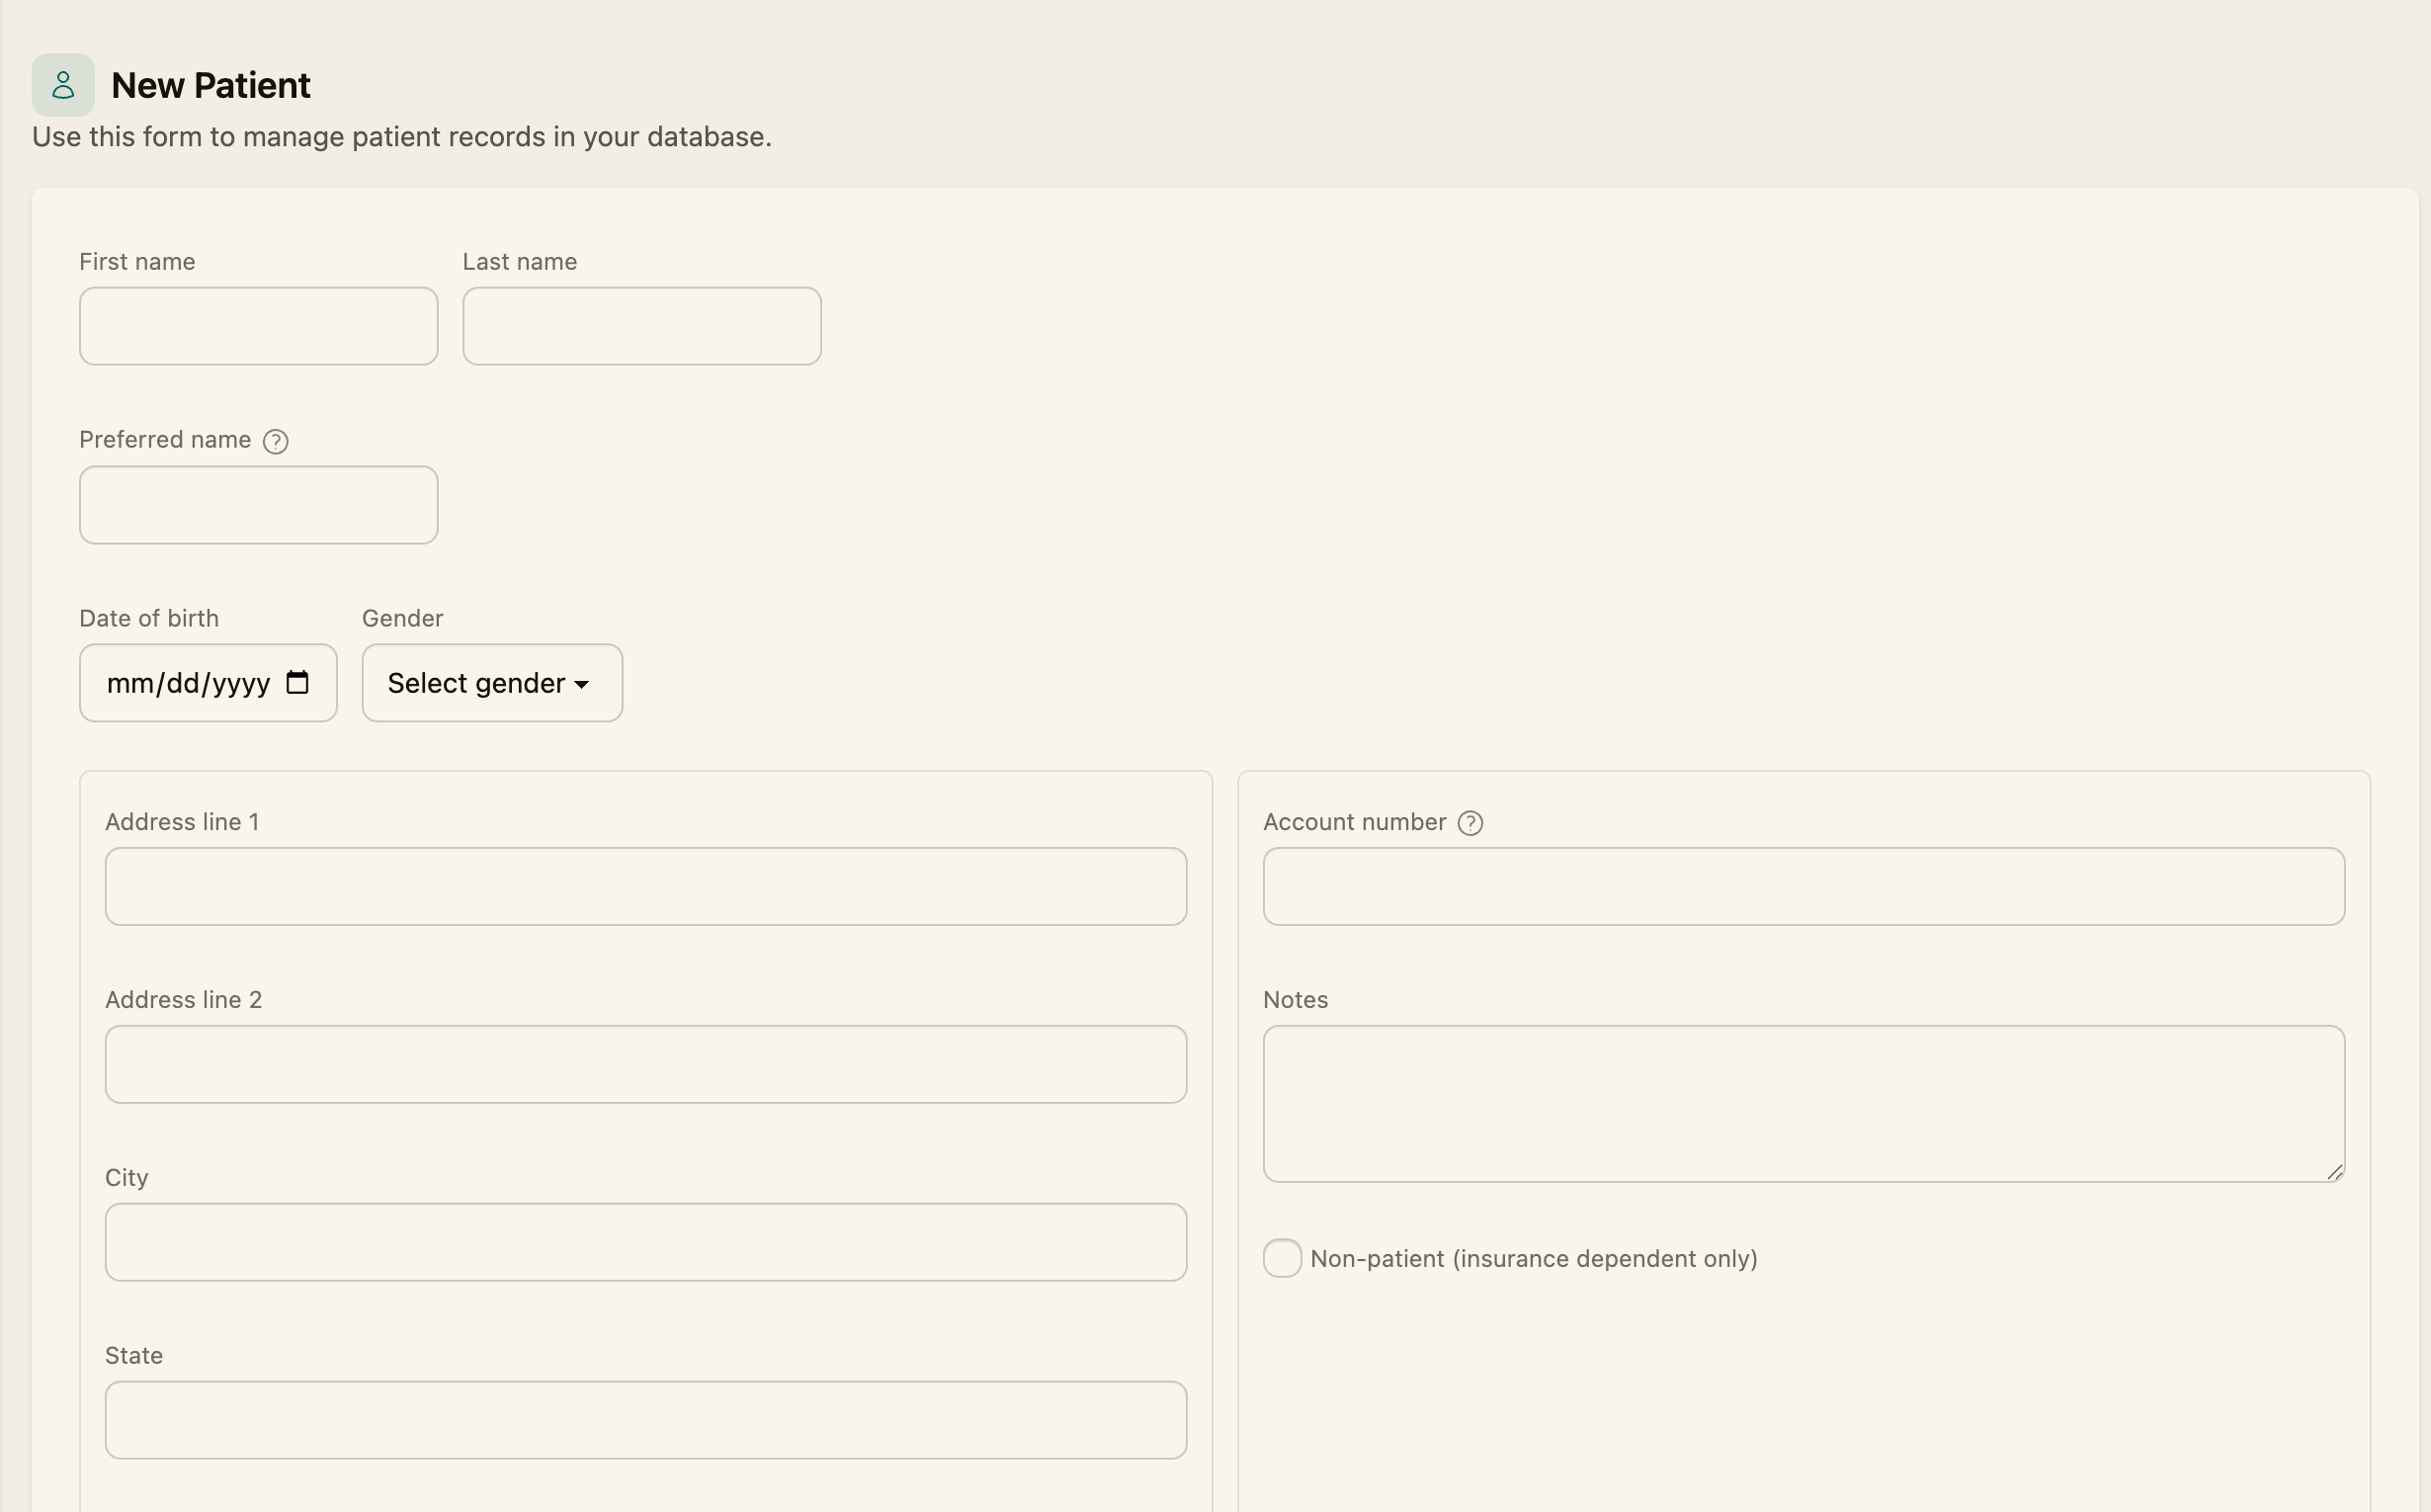
The Non-patient (insurance dependent only) checkbox is for people who aren't patients themselves but are needed on a claim — for example, a subscriber whose plan covers the patient as a dependent.
Step 4 — Save
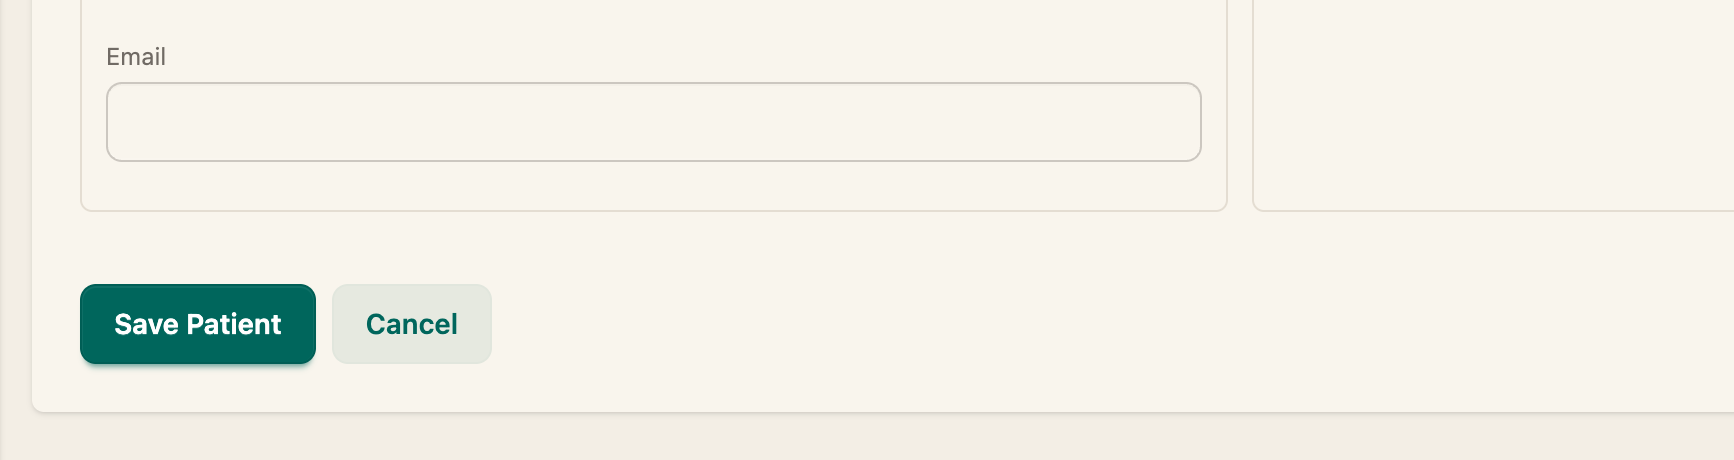
Click Save Patient. The new record appears in the Patients list and is ready for visits and claims.
Importing patients in bulk
To bring in many patients at once, use Import on the Patients list. Coral reads your CSV, shows you a preview of exactly what it will do, and only writes the rows you approve — nothing is saved until you confirm.
Step 1 — Open the import page
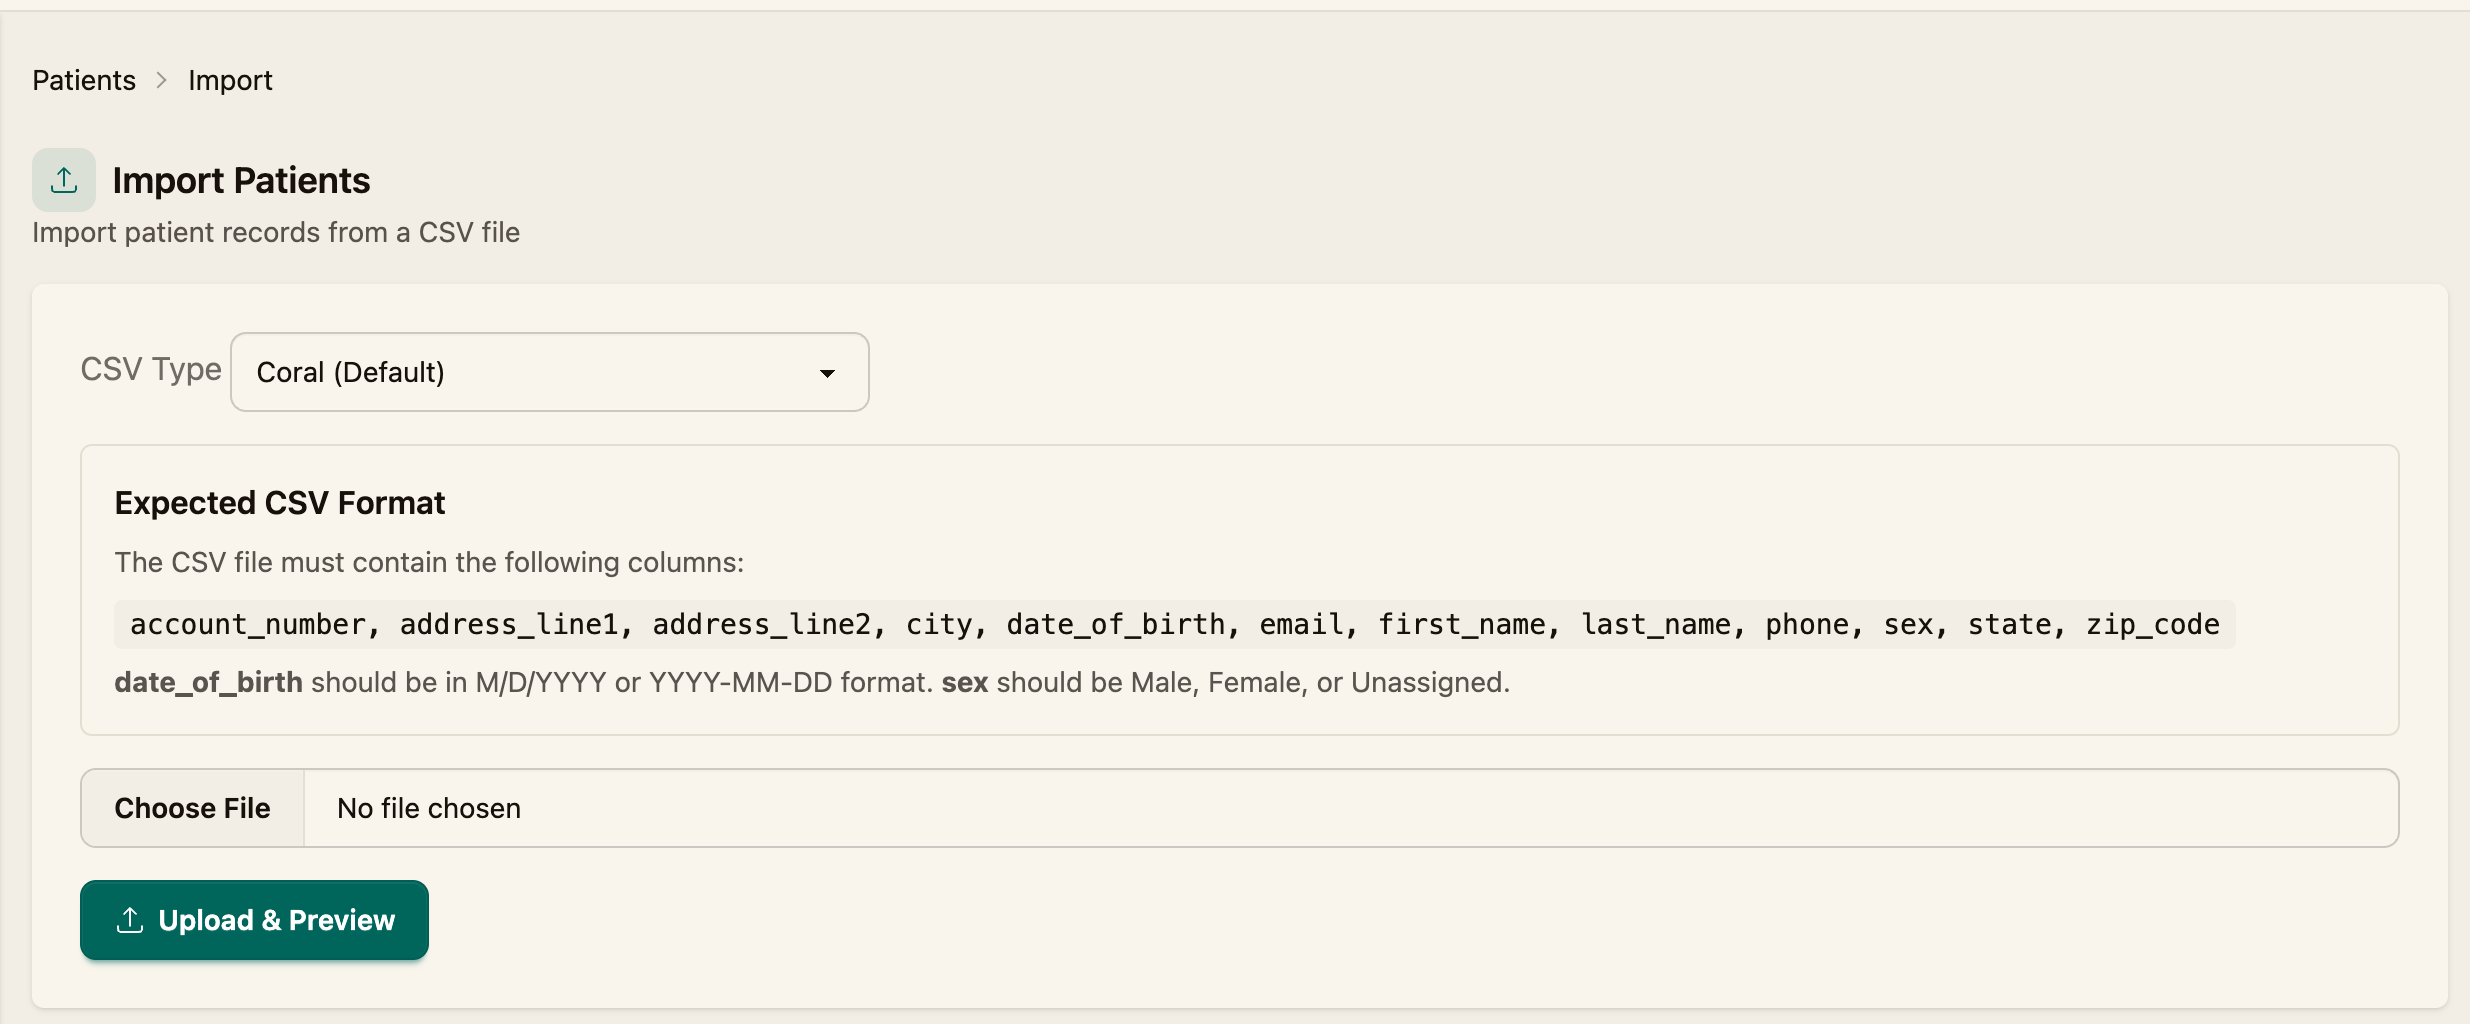
On the Patients list, click Import. Choose the CSV Type that matches your file — Coral (Default) is the standard format described below.
Step 2 — Prepare your CSV
Your file must contain these columns:
account_number, address_line1, address_line2, city, date_of_birth,
email, first_name, last_name, phone, sex, state, zip_code
Two values have specific formats:
- date_of_birth — use
M/D/YYYYorYYYY-MM-DD - sex — use
Male,Female, orUnassigned
Step 3 — Upload and preview
Click Choose File, select your CSV, then click Upload & Preview. Nothing is imported yet — Coral first shows you what it found.
Step 4 — Review what will change
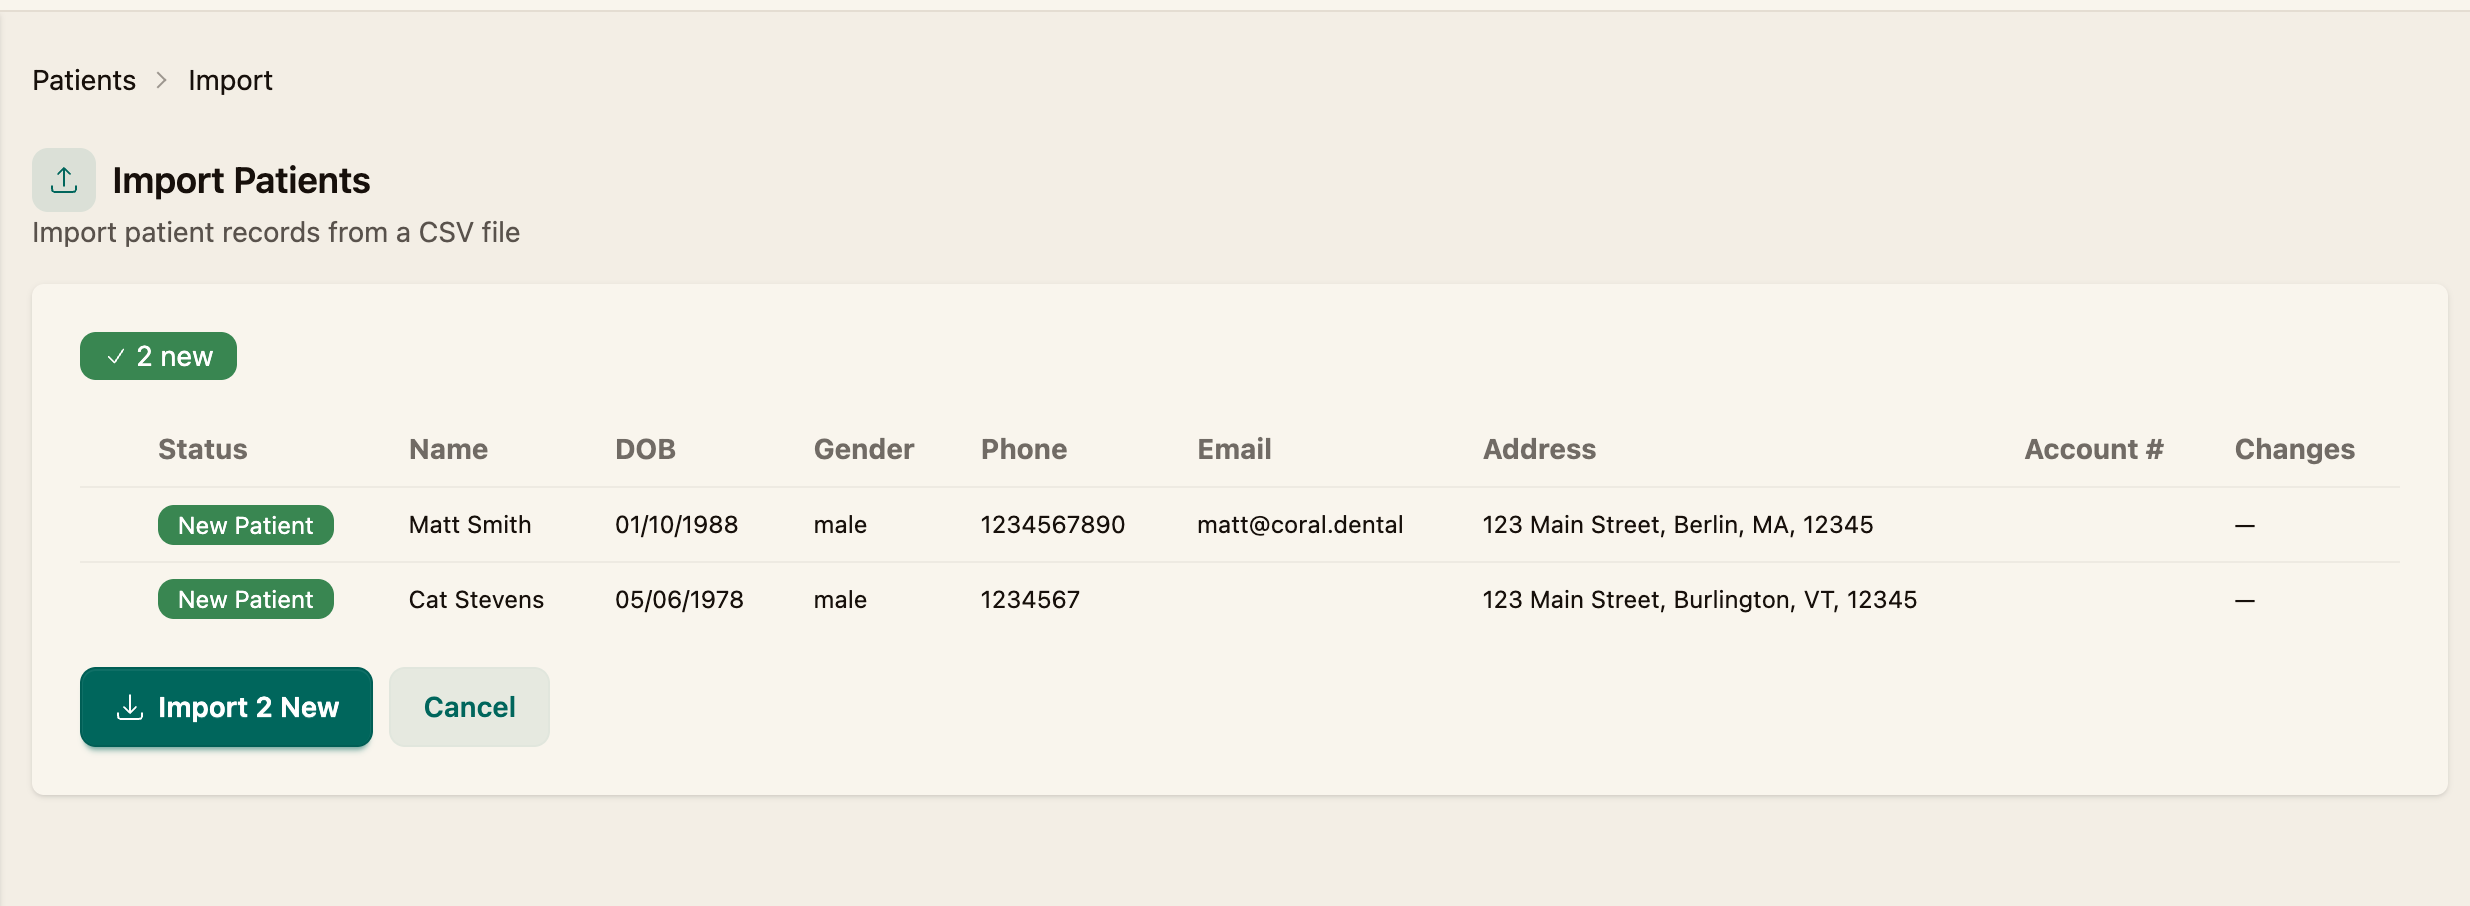
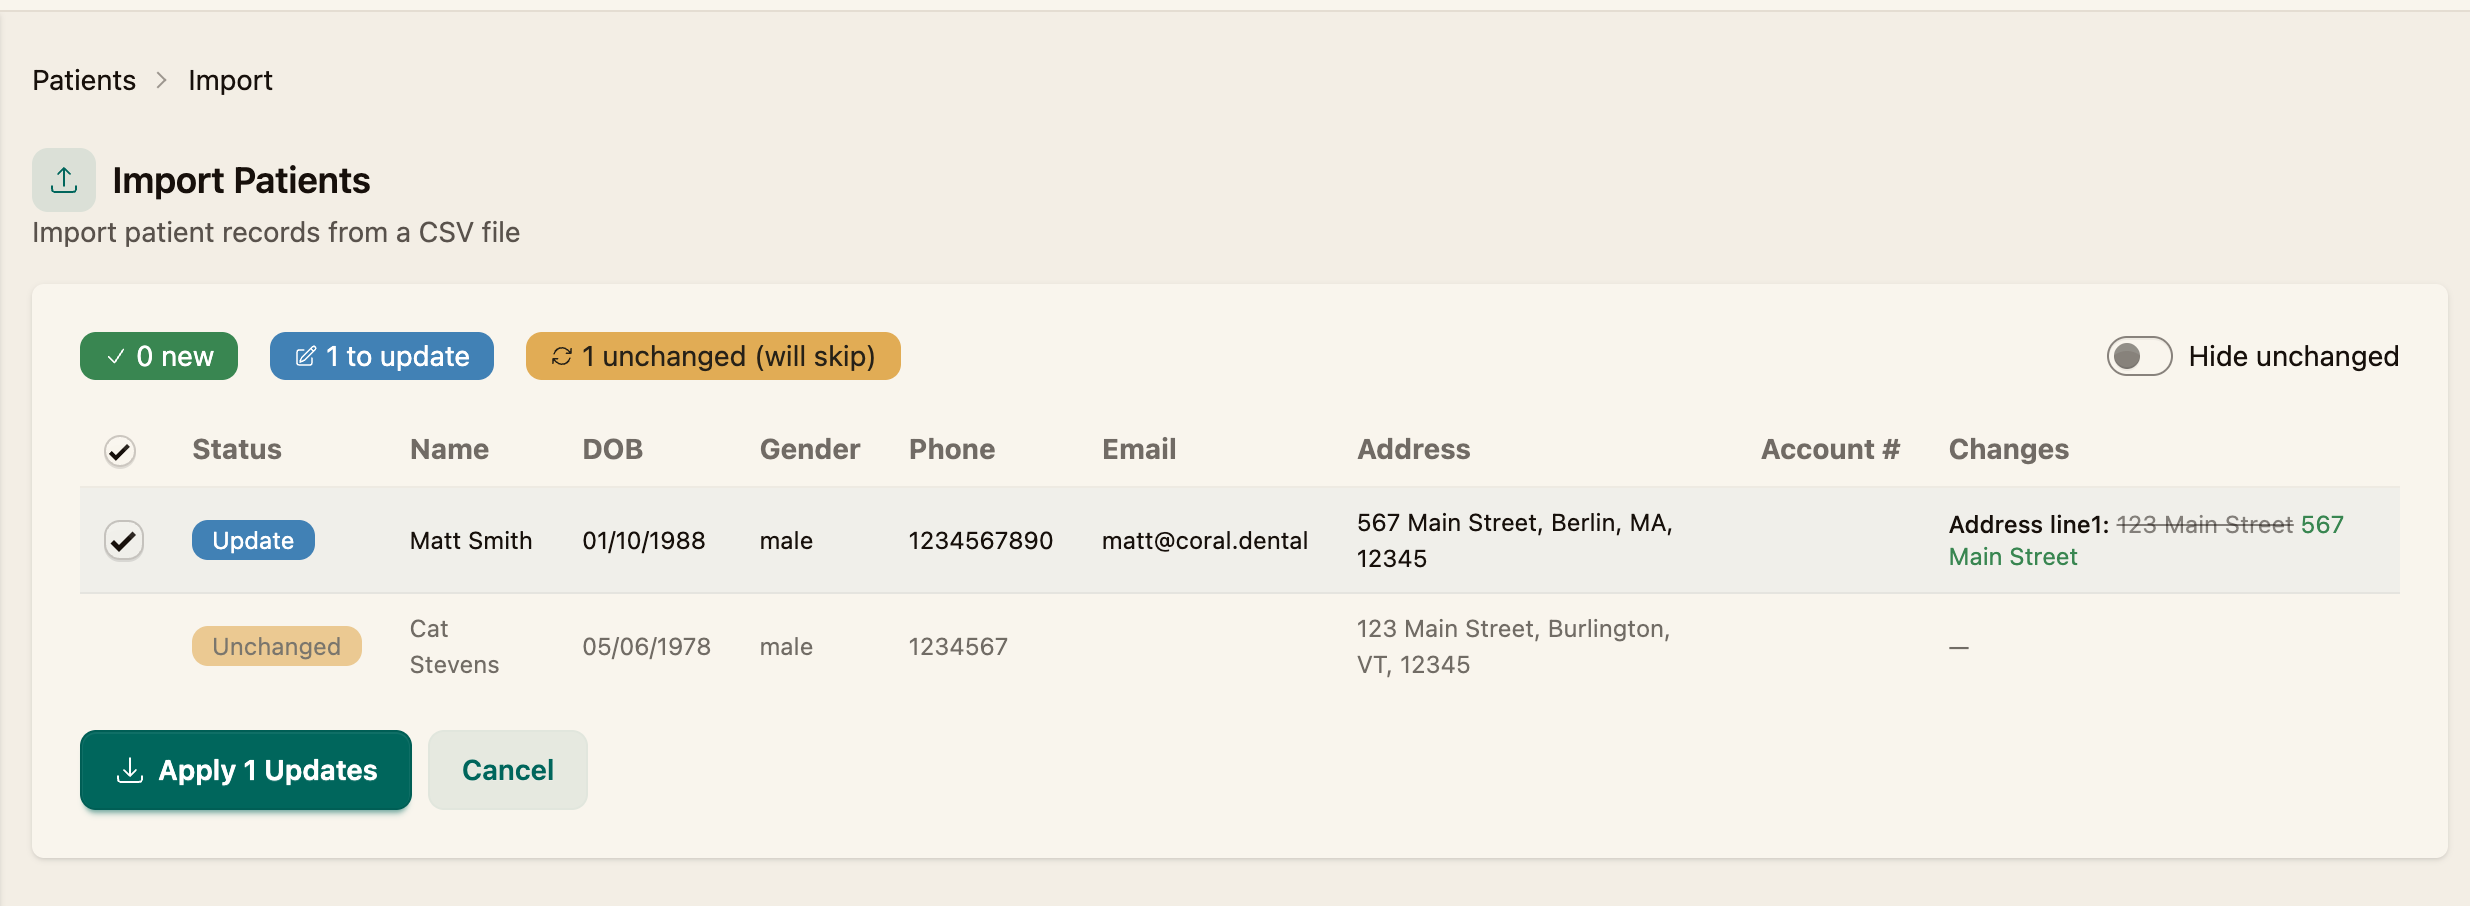
Coral matches each row against your existing patients by name and date of birth, then labels every row:
- New Patient — no match found, so the patient will be created.
- Update — matches an existing patient, but some details differ (an address, for example). The Changes column shows each field that will change, with the old value struck through next to the new one.
- Unchanged — matches an existing patient exactly, so it's skipped.
Use the checkboxes to choose which rows to apply, and the Hide unchanged toggle to filter out rows that need no action.
Step 5 — Apply the import
Click the confirm button — it names exactly what will happen, such as Import 2 New or Apply 1 Updates. Cancel discards the import without changing any records.
Next steps
- Add the patient's coverage (Adding a Medical Insurance Card)
- Start documenting a visit (How to Start a Visit Recording)