Setting Up Your Practice
This guide walks you through configuring your practice in Coral for the first time. These details identify your practice on the claims you submit, so it's worth getting them right up front.
The values on this page can end up in legal documents such as claim submissions. Enter them exactly as they should appear to payers.
Open Practice Settings
From the navigation menu, go to Practice Settings.
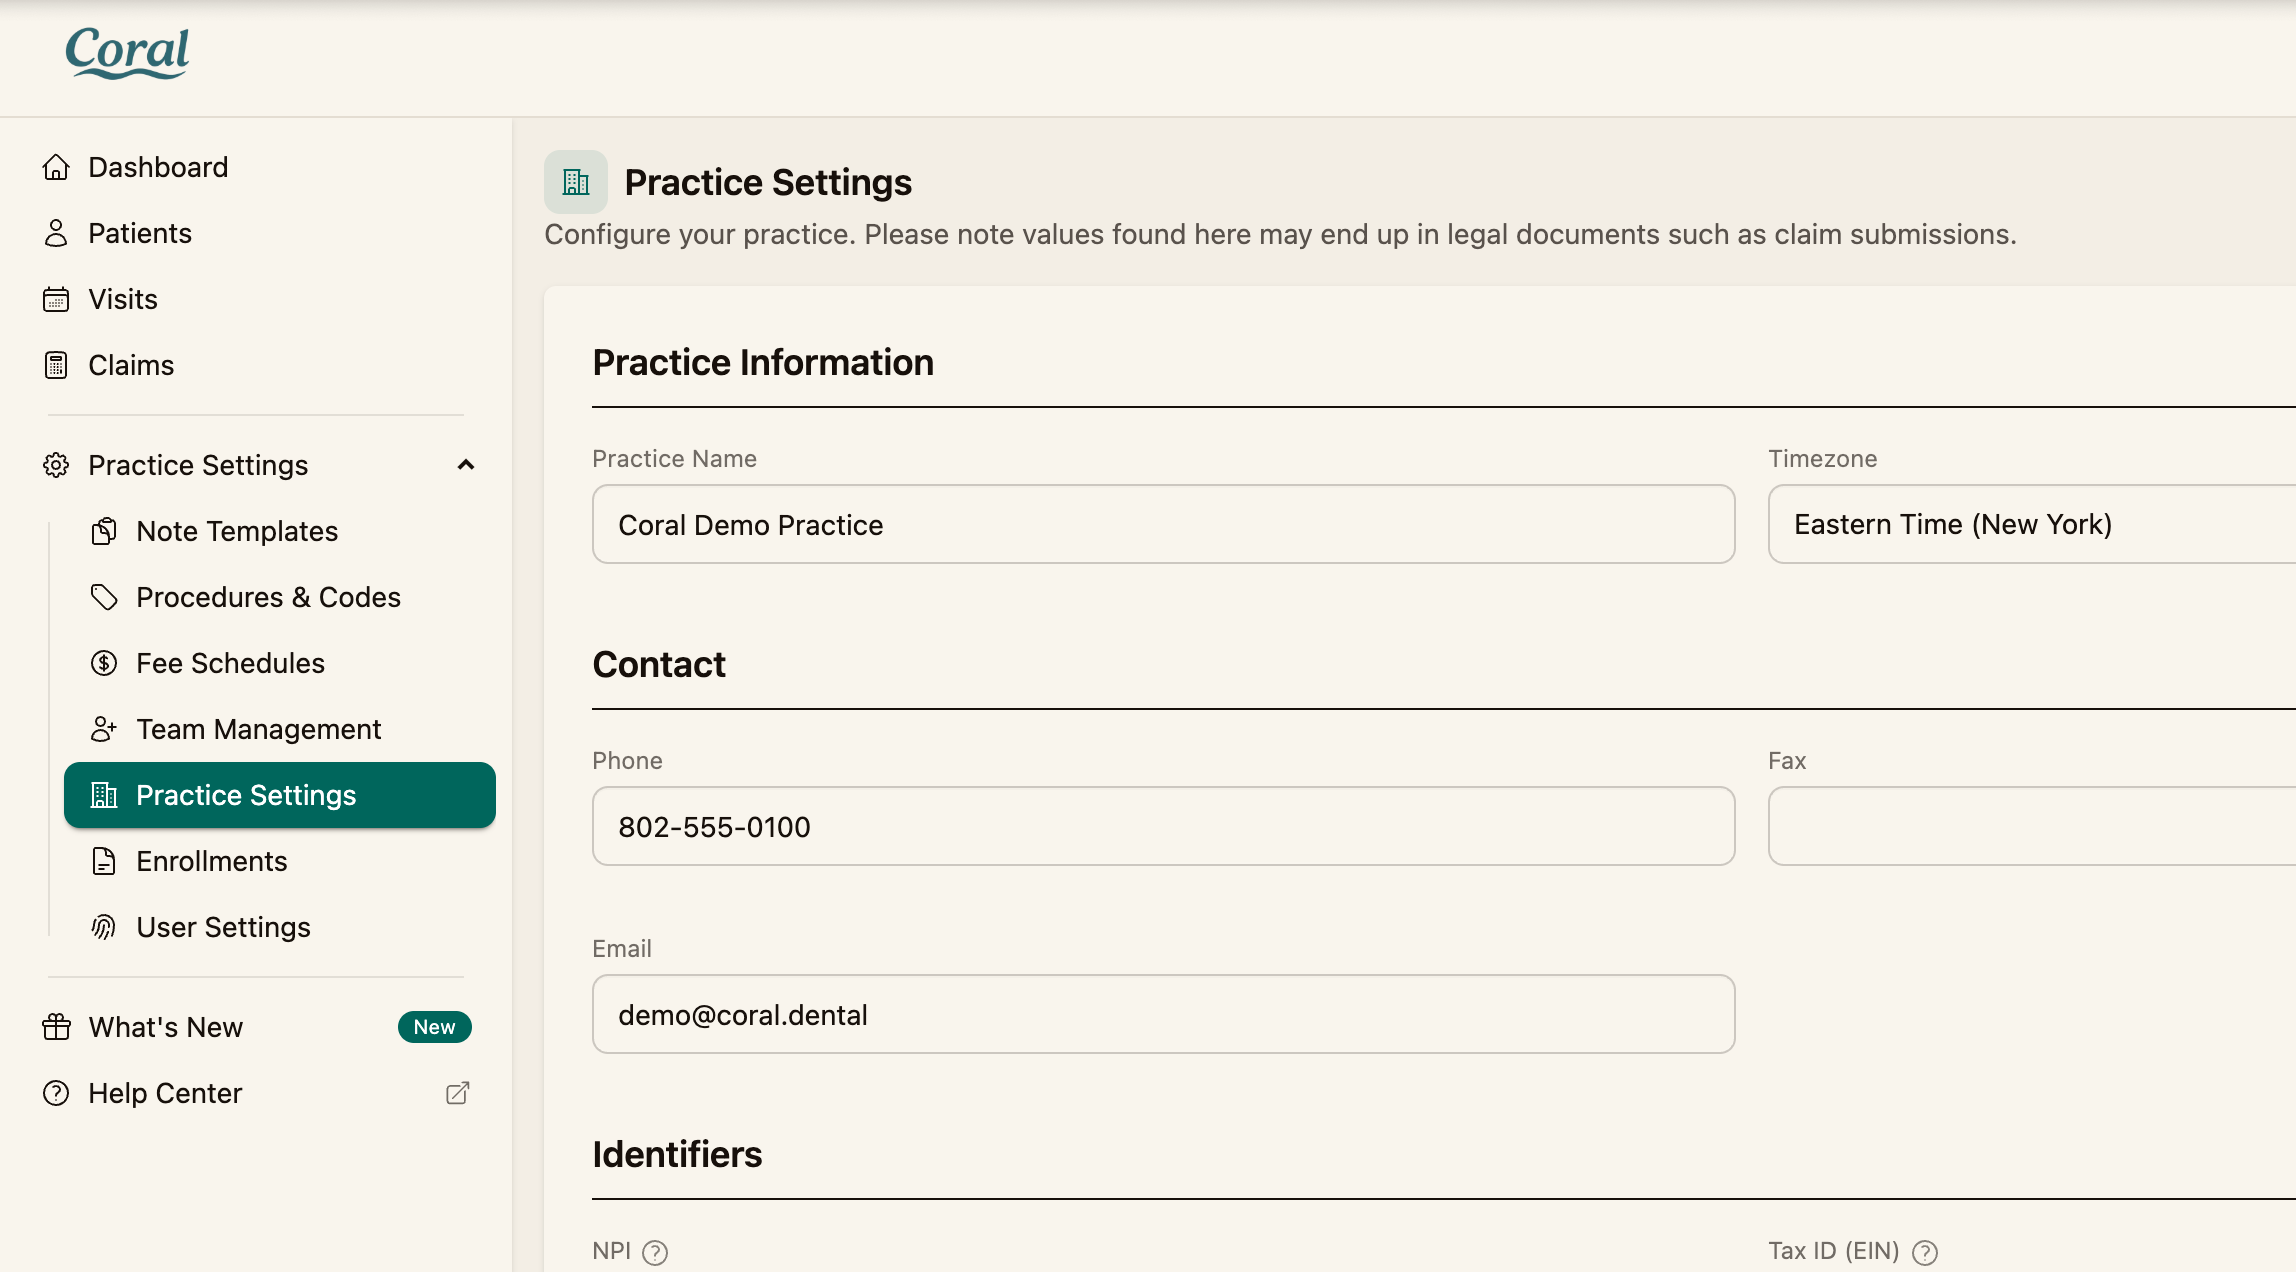
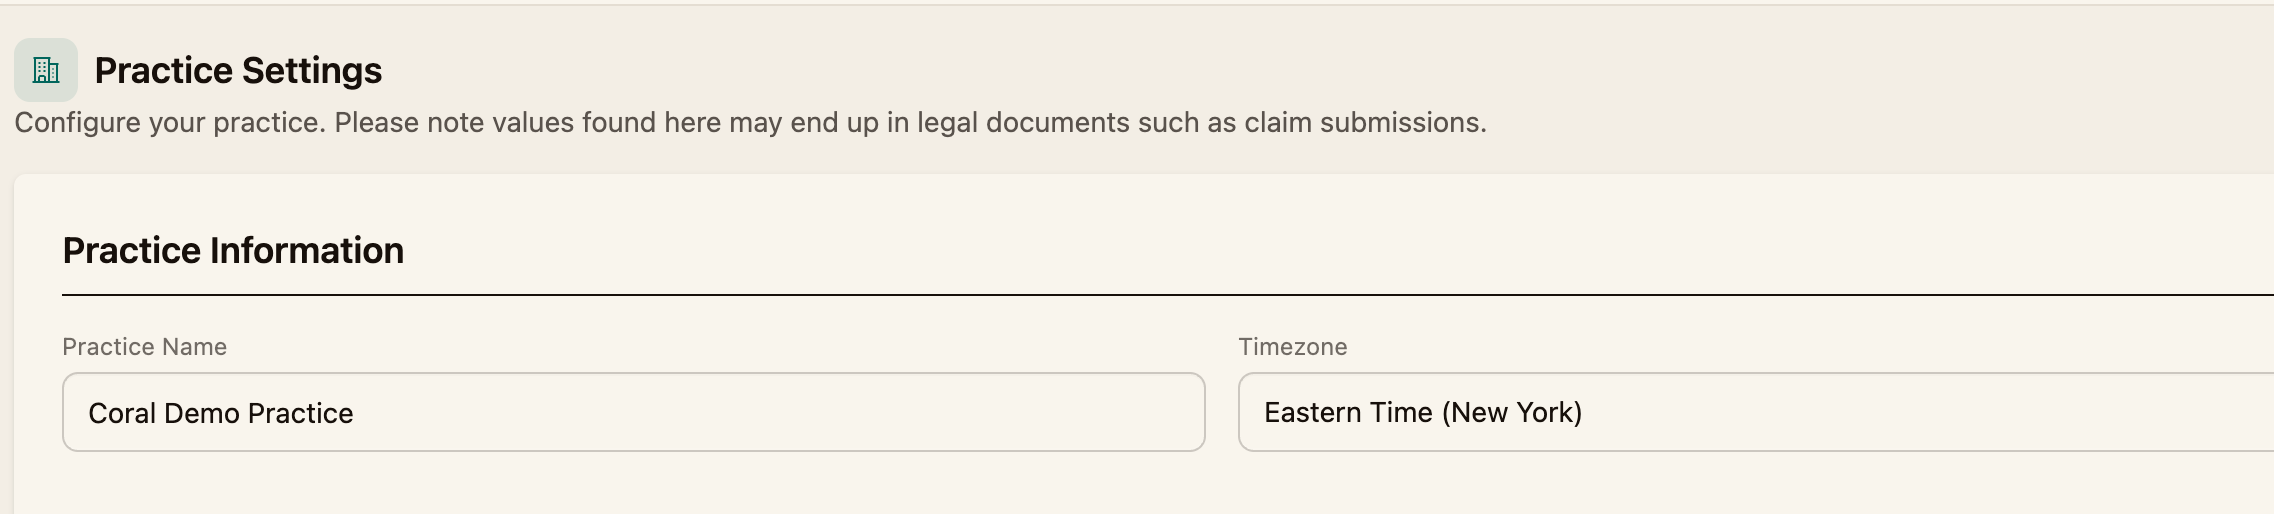
Step 1 — Practice information
Enter your Practice Name and select your Timezone.
Step 2 — Contact details
Add your practice Phone, Fax, and Email.
Step 3 — Identifiers
Enter the identifiers that appear on claims:
- NPI — your practice's National Provider Identifier
- Tax ID (EIN)
- Electronic Transmitter ID Number (ETIN)
- Taxonomy Code
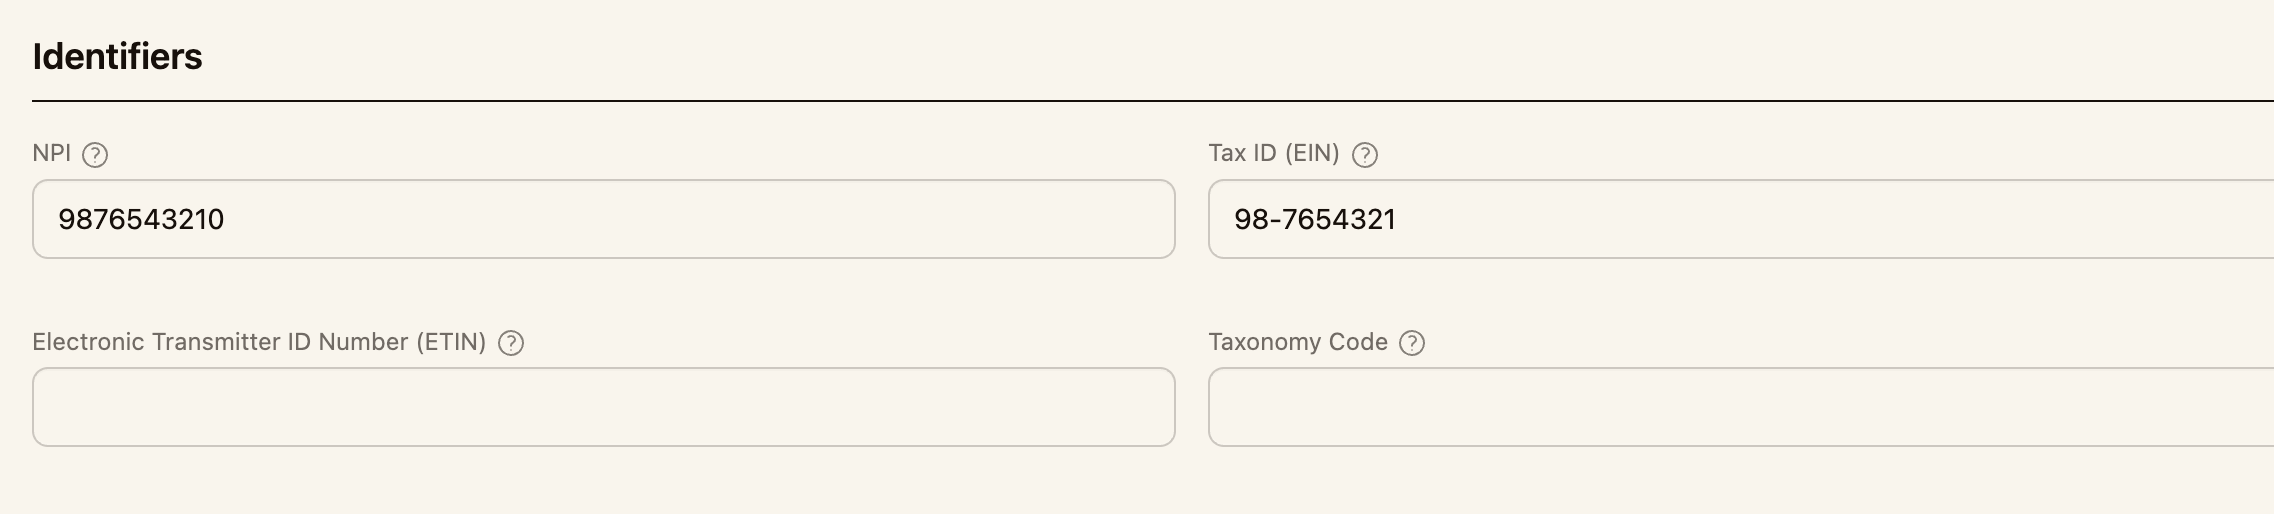
If your practice is already registered with the insurance clearinghouse, your NPI and Tax ID are locked here and can't be edited. If either has changed, contact Coral support so they can update your registration.
Step 4 — Addresses
Fill in your Service Location Address (street, city, state, ZIP). If you bill from a different address, check Use a separate billing address and enter your Billing Address as well.
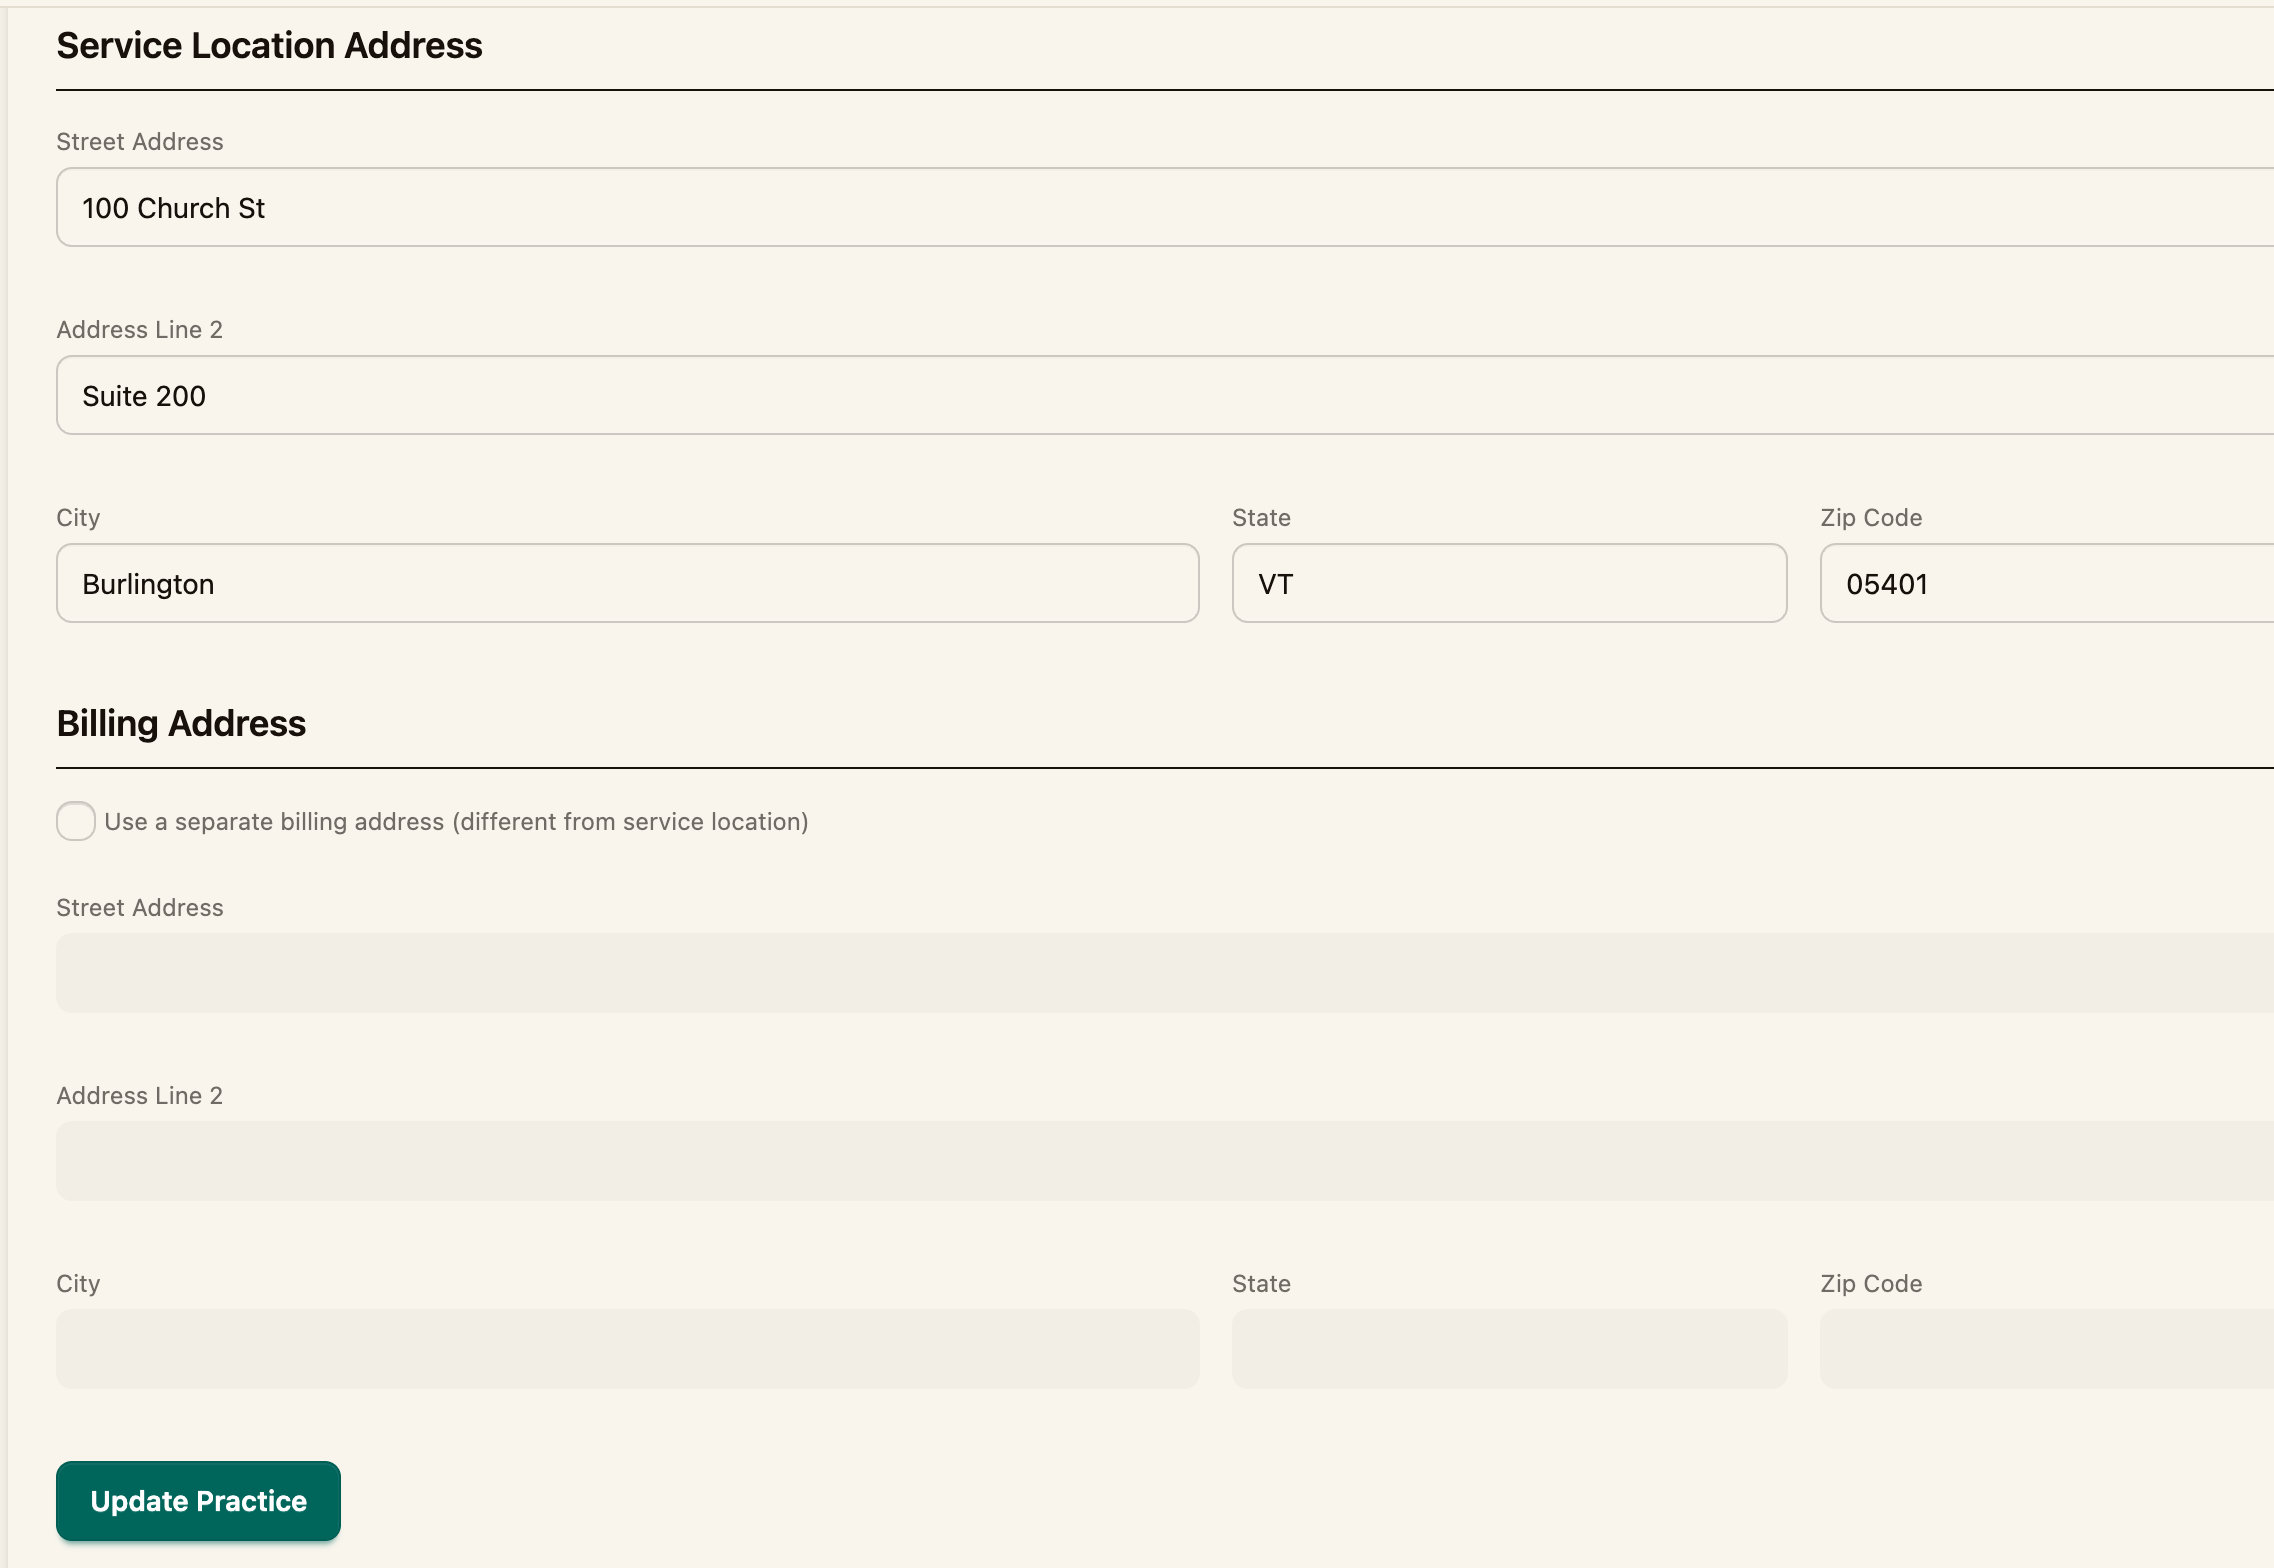
Step 5 — Save
Click Update Practice to save your changes.
Step 6 — Security (optional)
Under Security, you can turn on Require two-factor authentication for all users. When enabled, any user without two-factor set up is prompted to enroll at their next login.

Next steps
With your practice configured, continue onboarding:
- Enroll with the clearinghouse so you can bill payers (Enrollments)
- Add your patients (Adding Your First Patient)
- Add patient coverage (Adding a Medical Insurance Card)